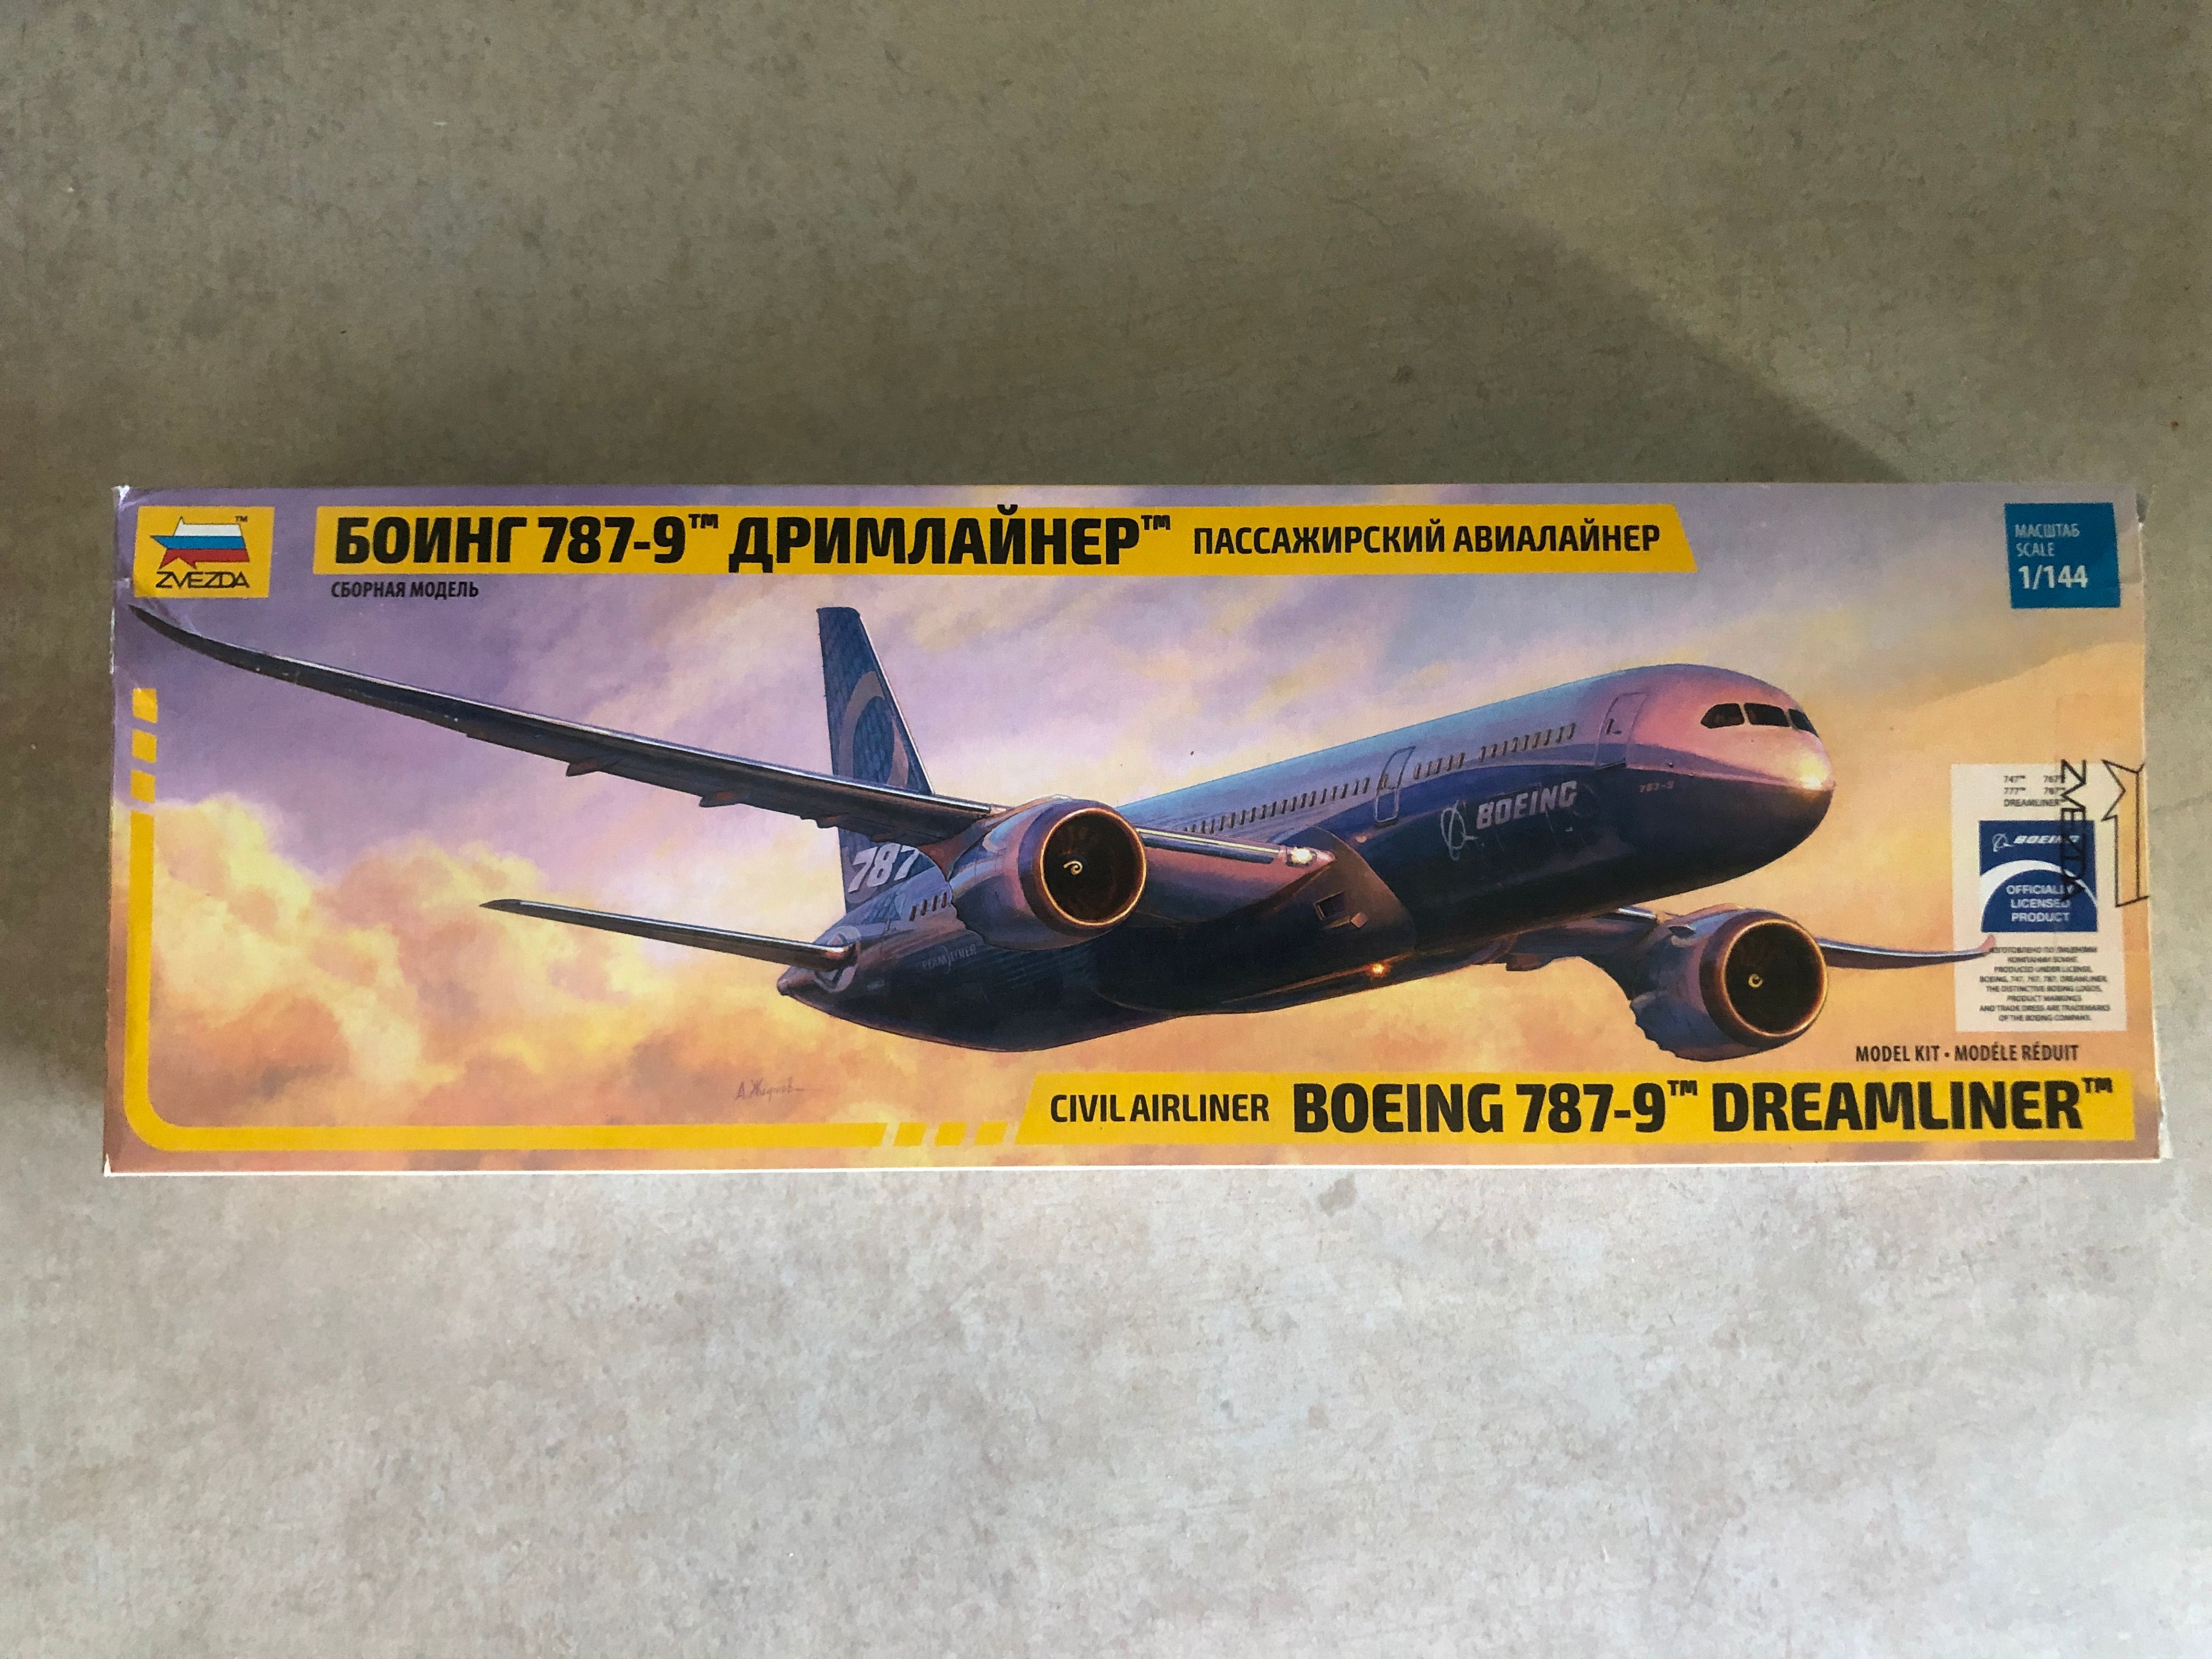
Boeing 787-9 Dreamliner
1/144 Scale, Manufactured by Zvezda
<*><*><*><*><*><*><*><*><*><*><*><*><*><*><*><*><*><*><*><*> APR 04 2025 -
This page will stay simple for now only because I am sick and then also sleepy. Will come back to reduce the boring of it all...
The model was bought from a re-seller on eBay if you are worried about where the money went
Flight Back
<*><*><*><*><*><*><*><*><*><*><*><*><*><*><*><*><*><*><*><*>
Friday Apr 11 2025, Logged at 7:57PM
It's been a whole long week and I haven't even noticed! Now that I am back in school for daytime my energy went down to just reading, watching, napping... Grateful for the weekend, as big as the workload is regarding homework. Why not?
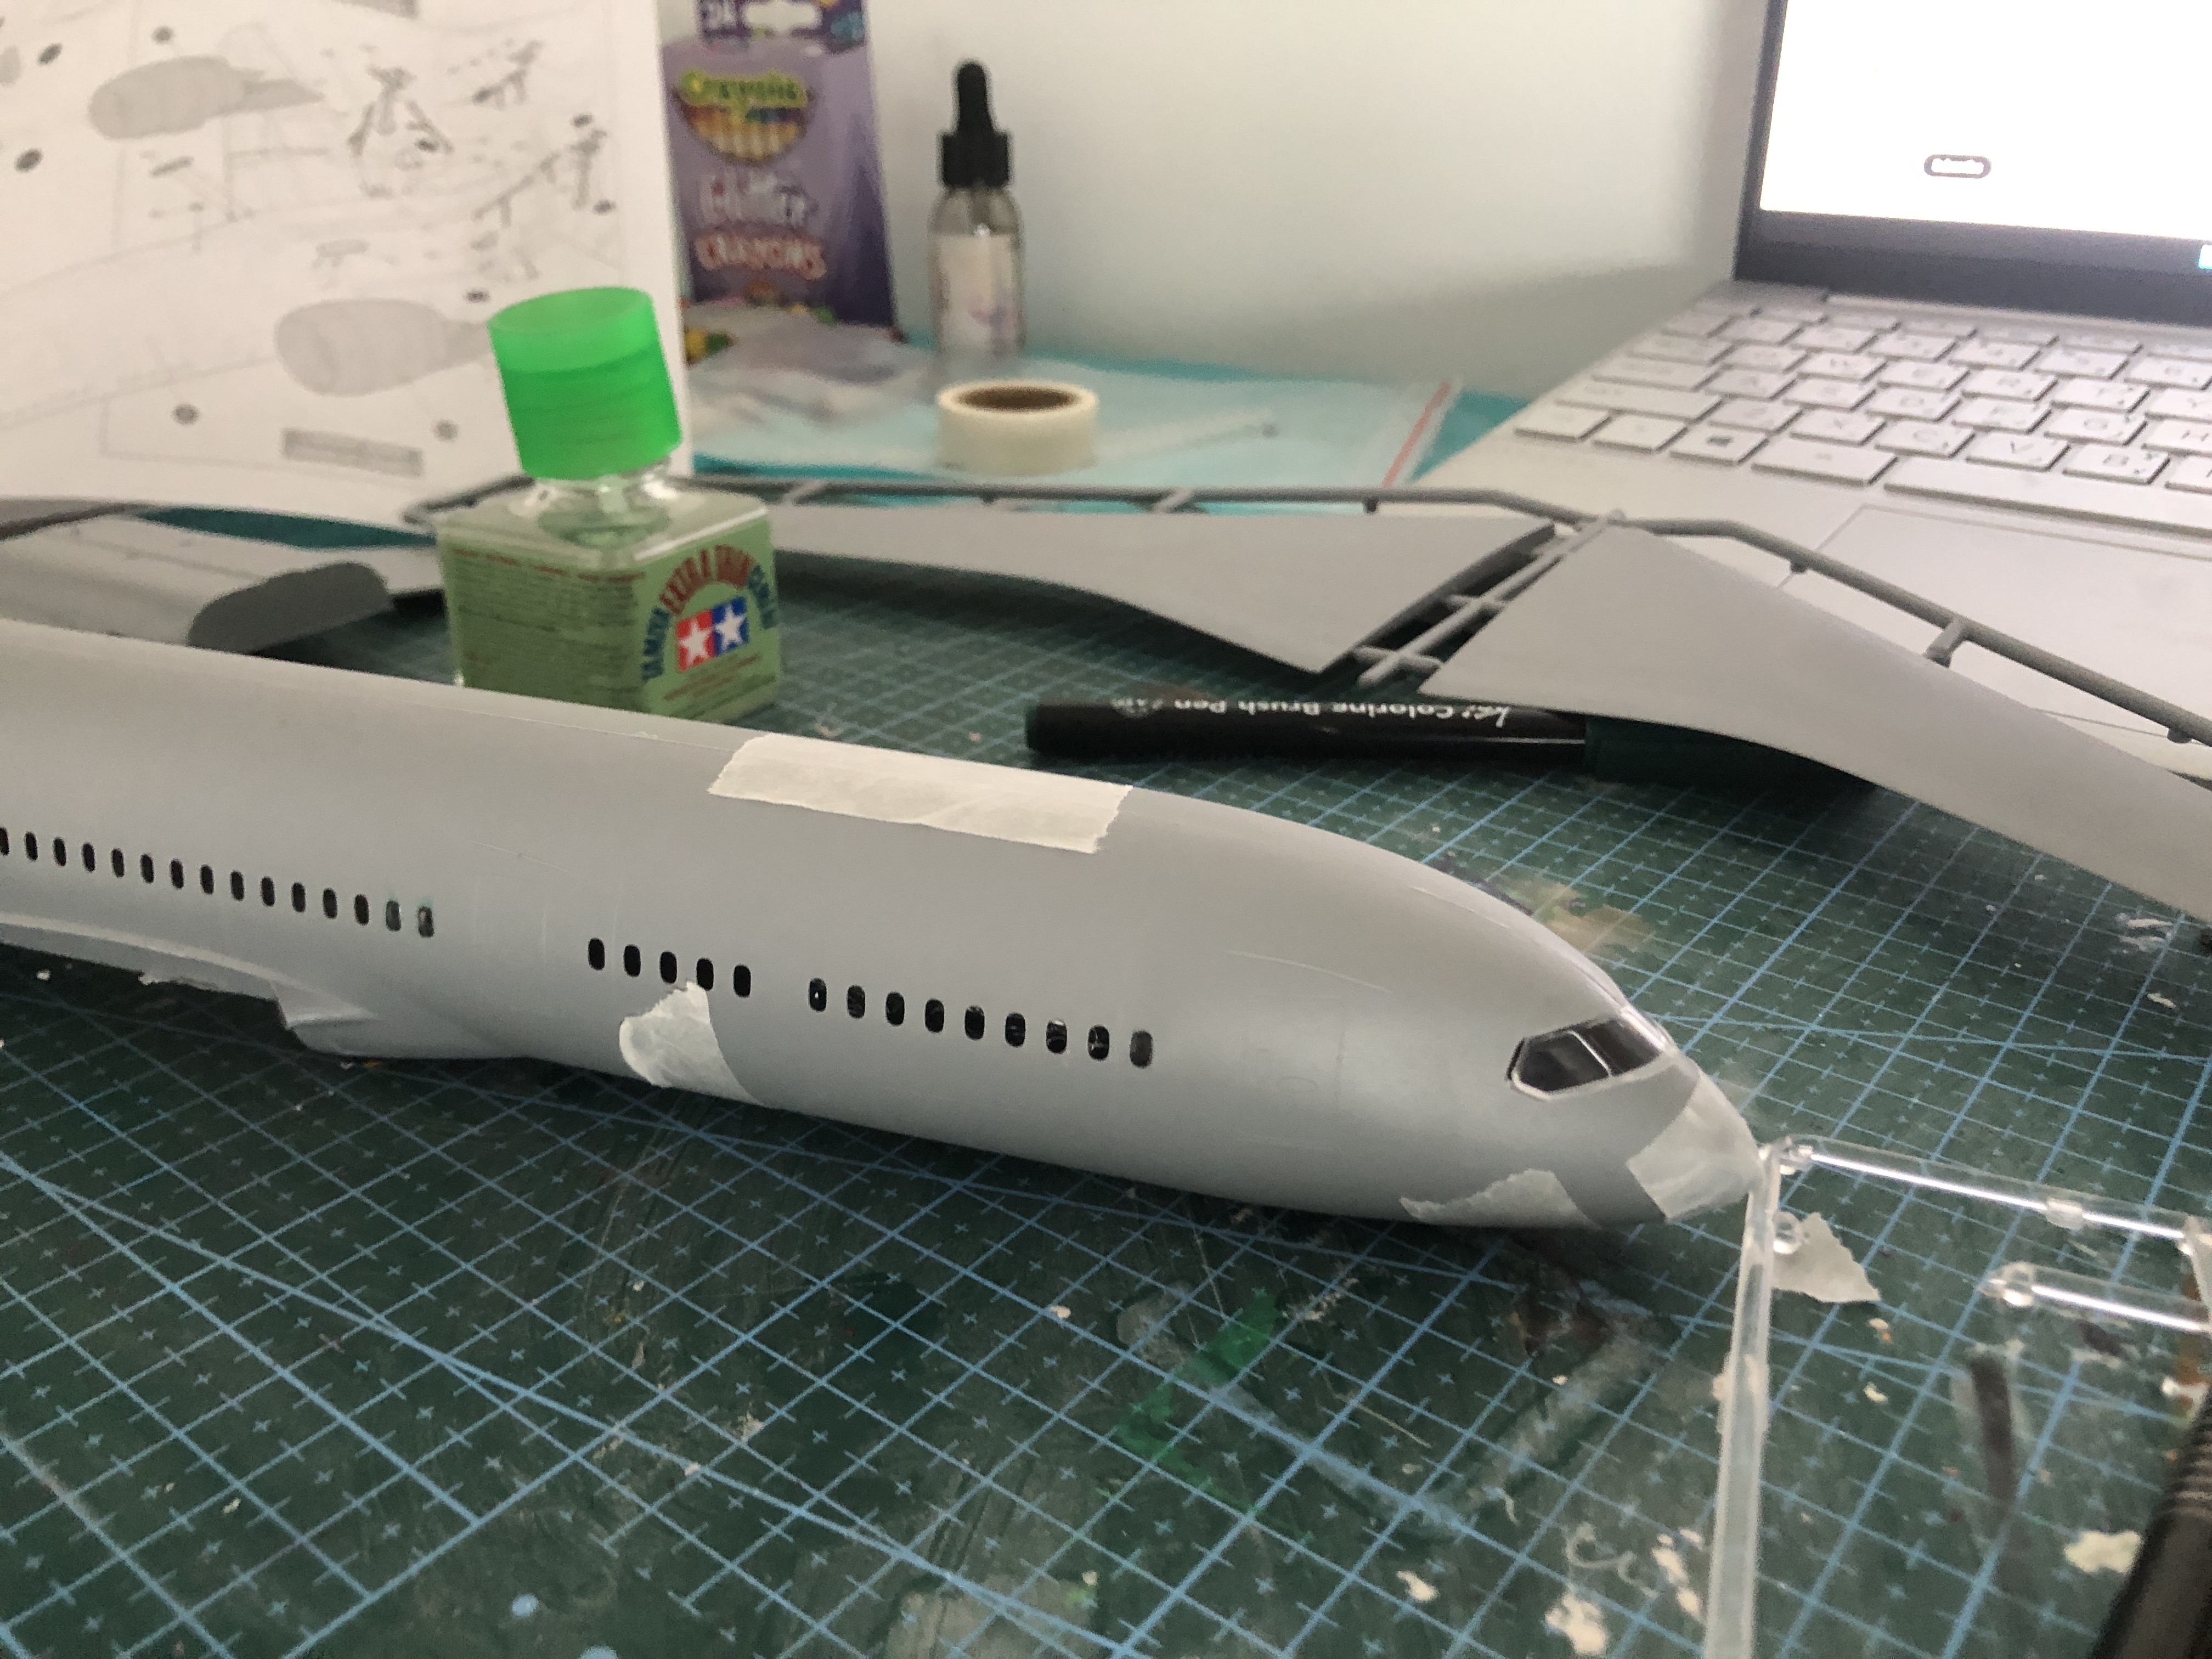
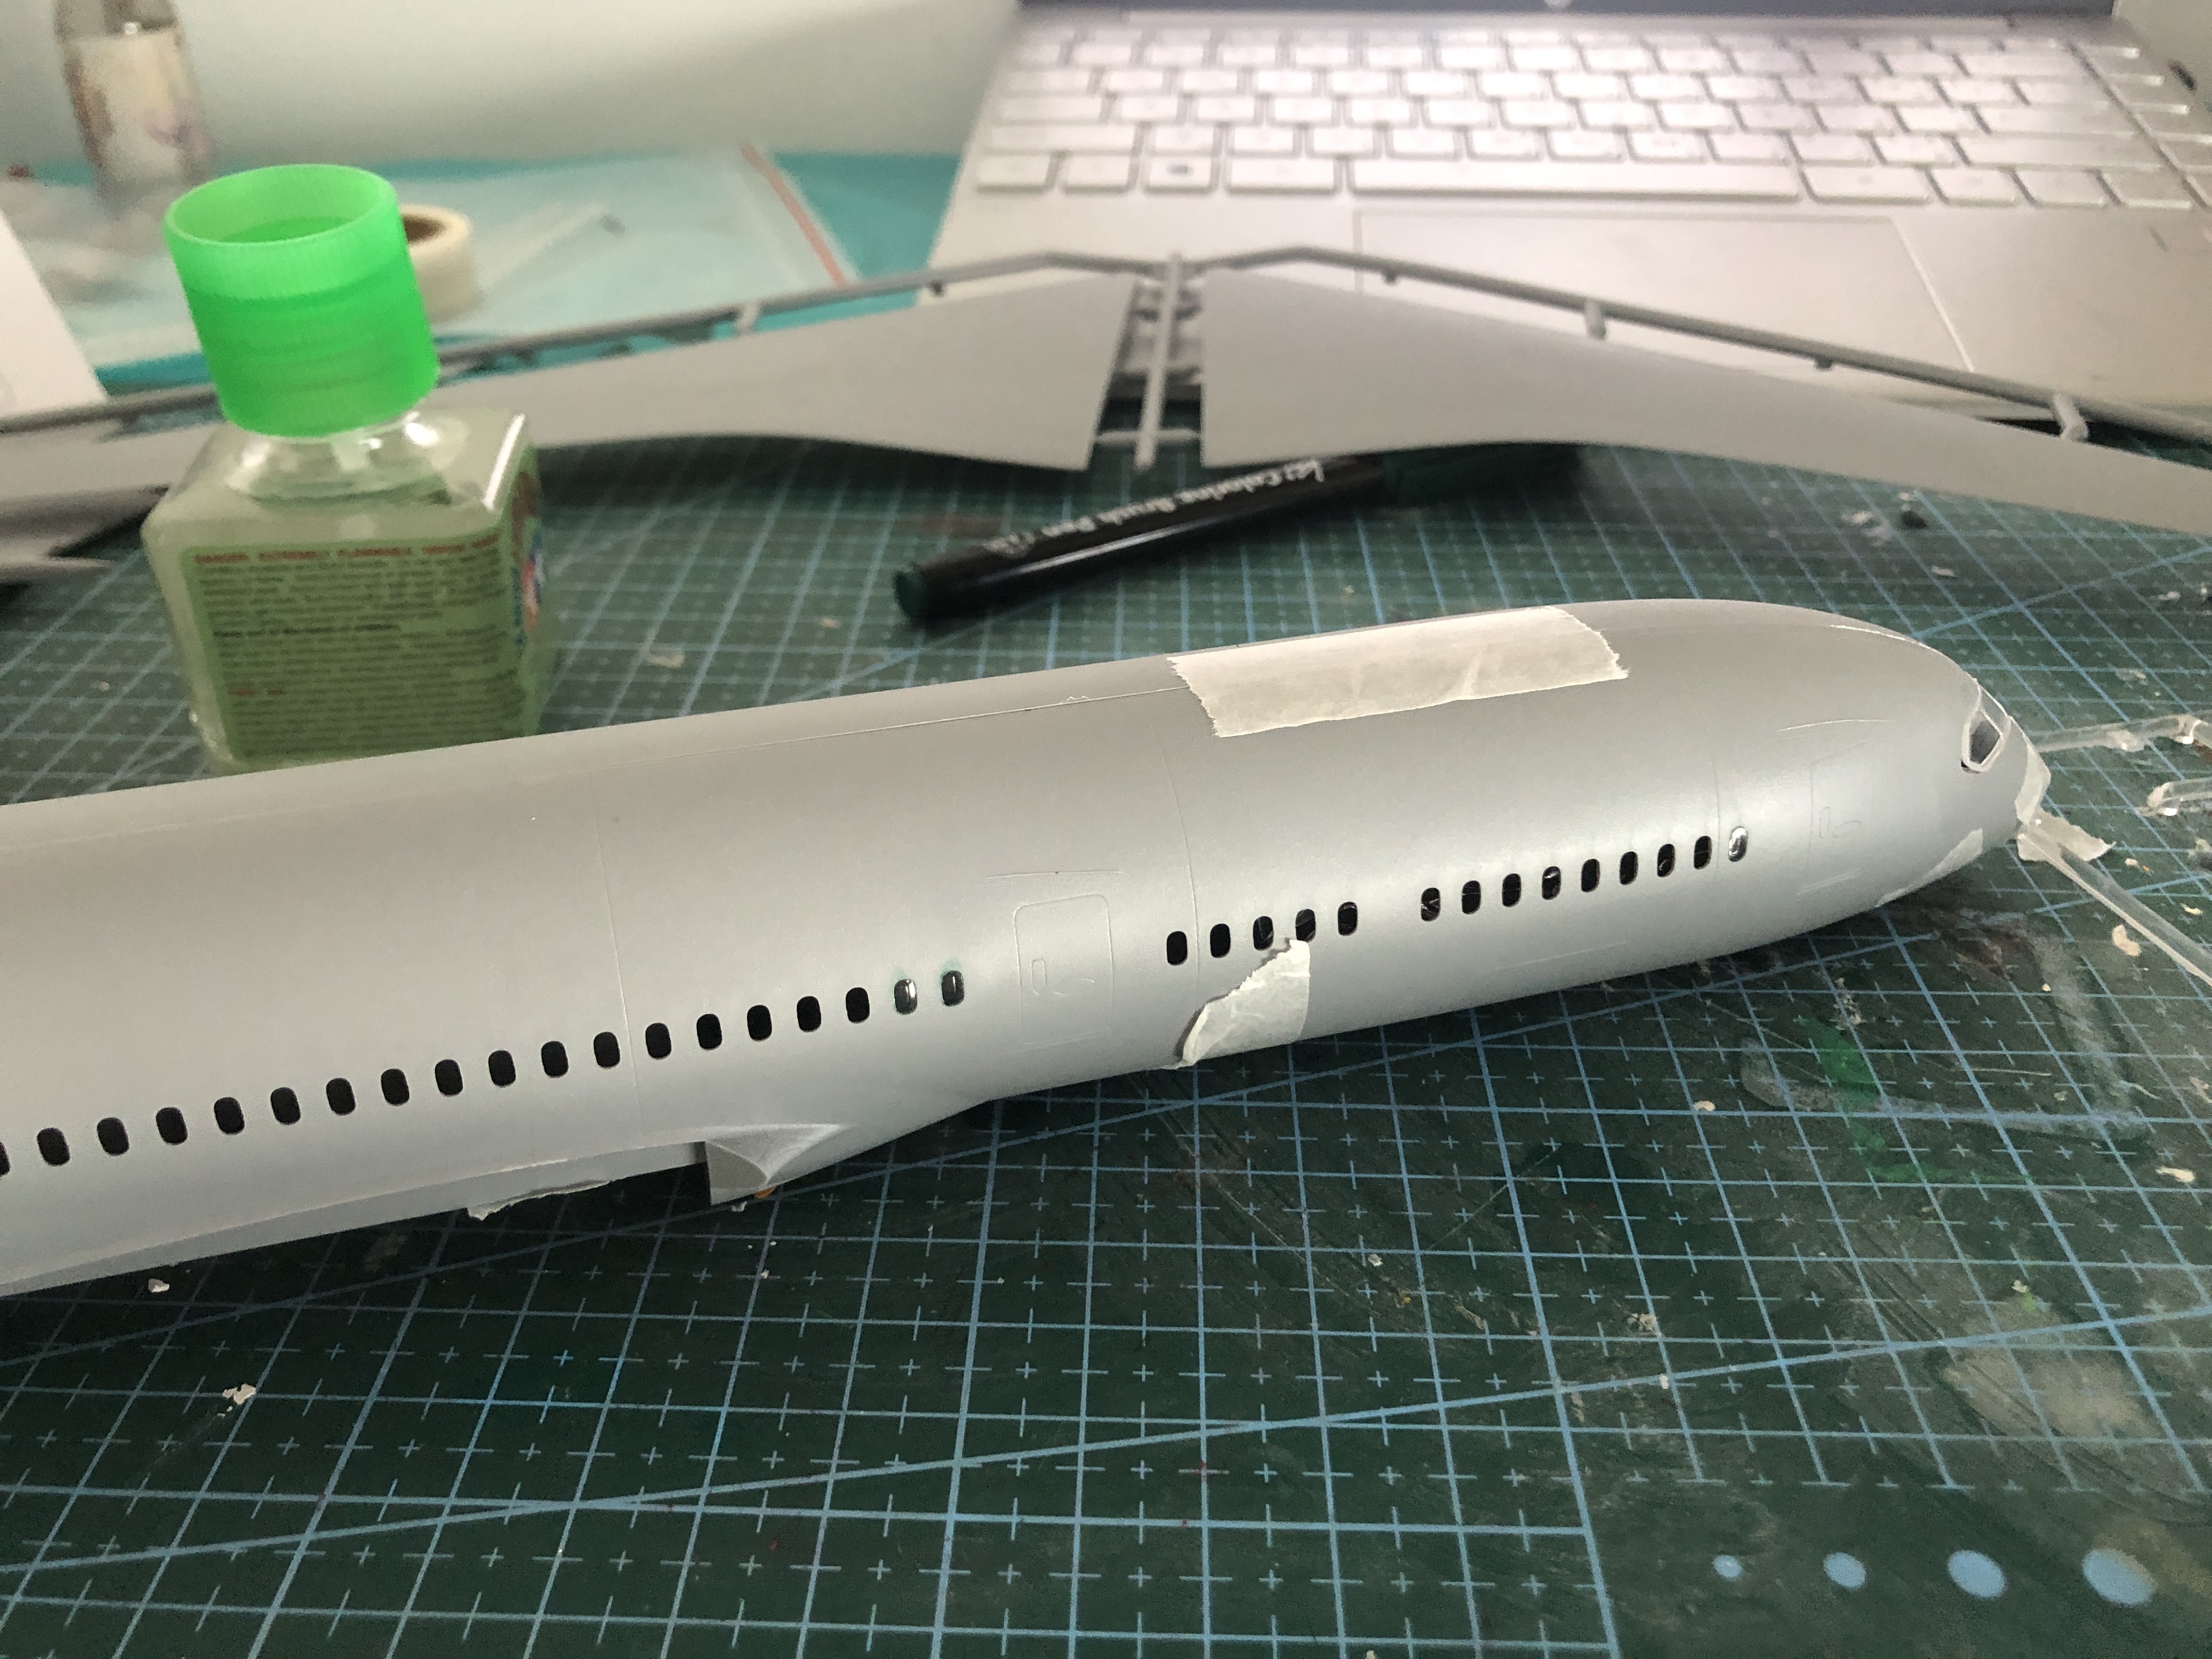
The fuselage (&wings) have been drying for a whole week now, meaning the body is pretty sturdy. According to last week's agenda, today is putty-and-sanding day. How exciting!
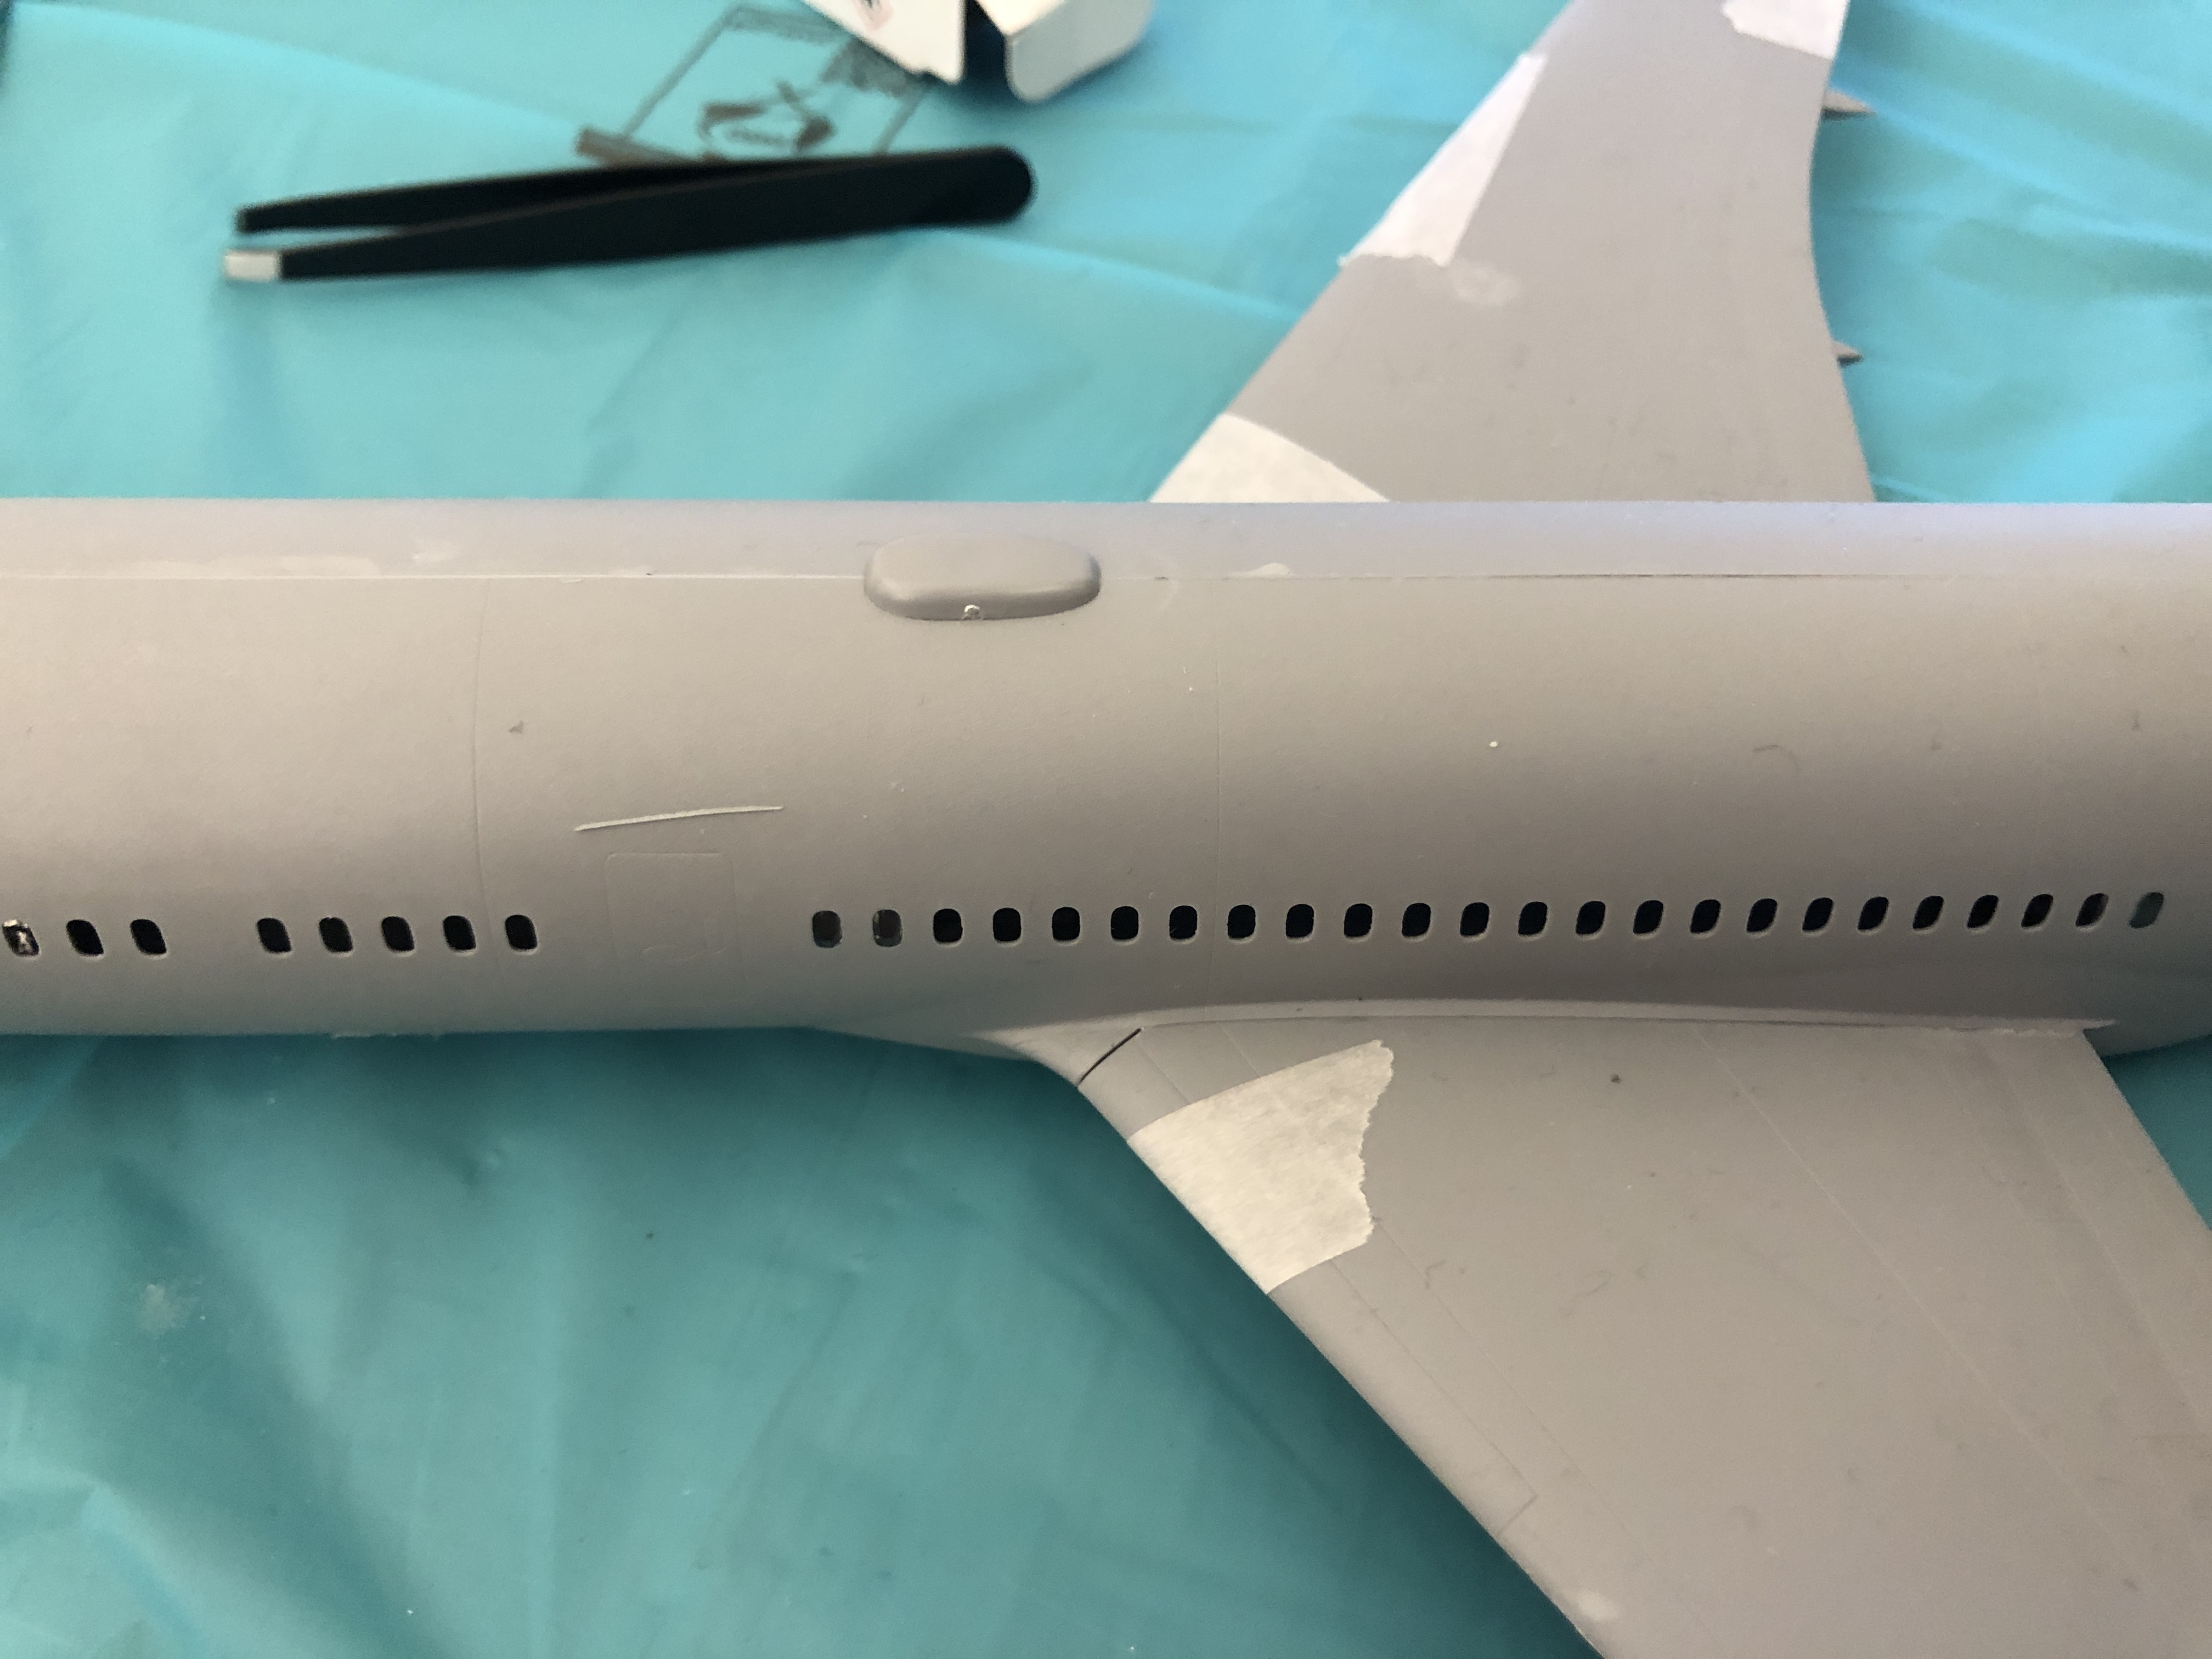
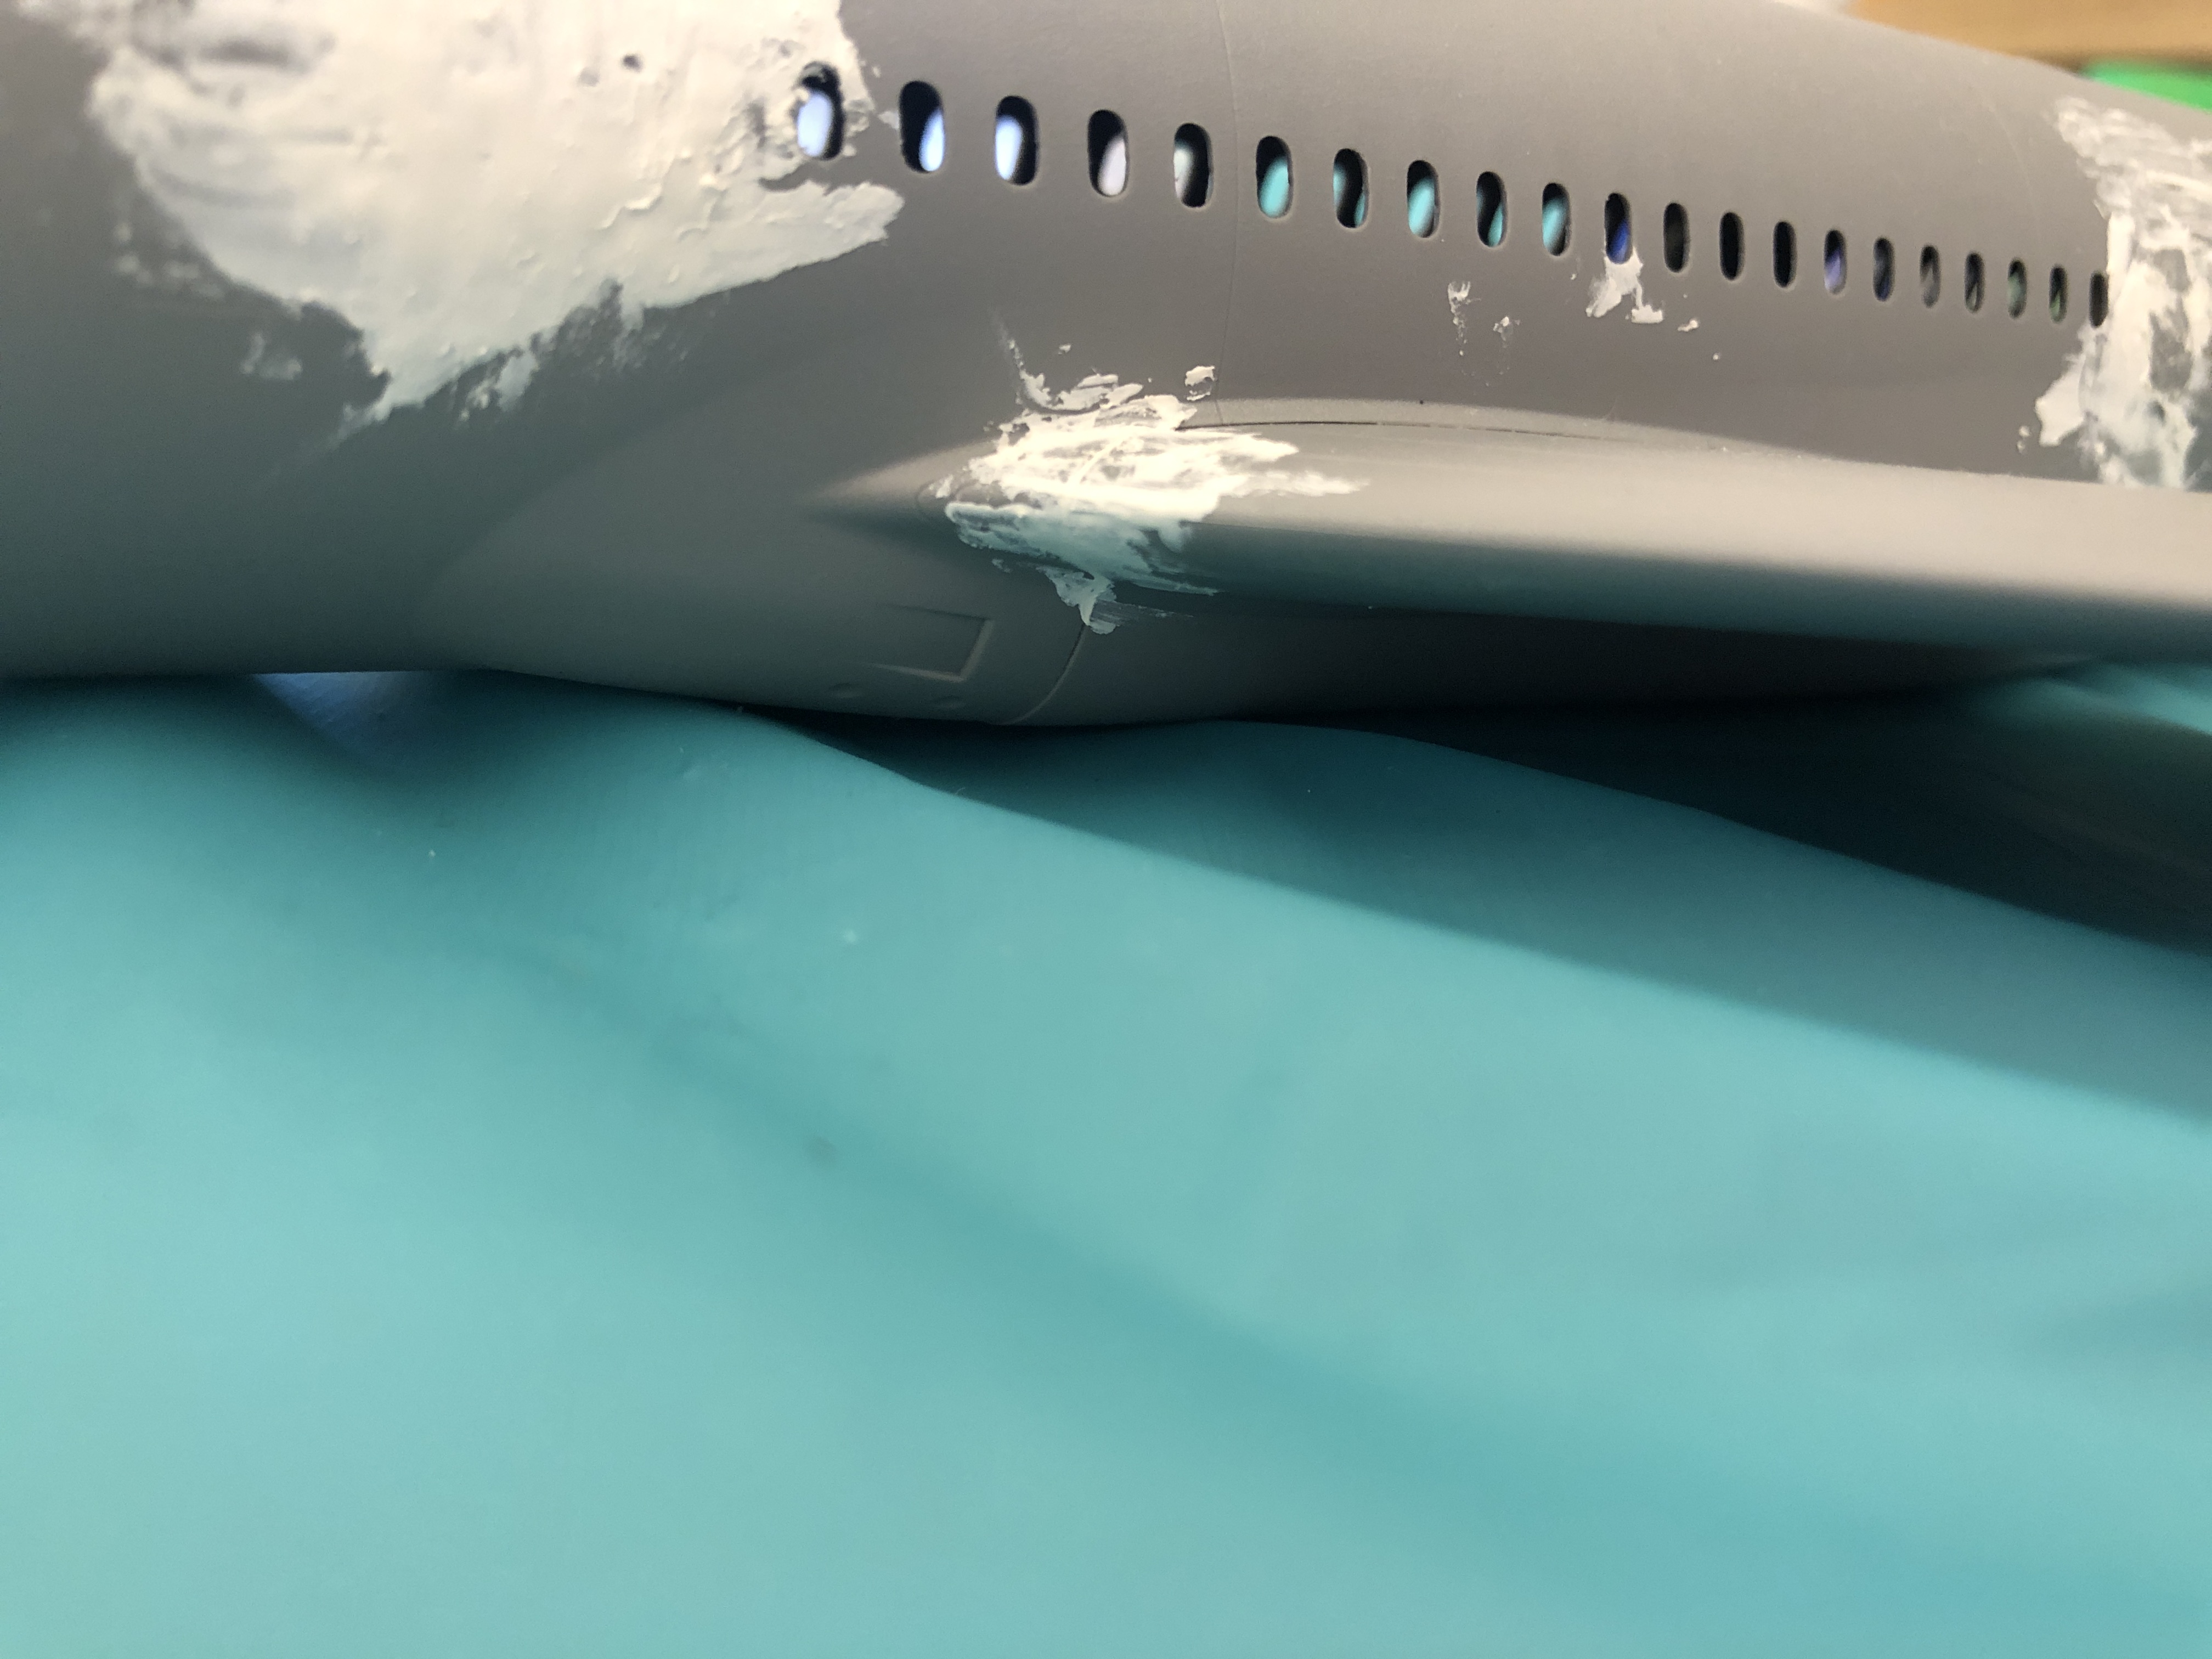
First, though, I have attatched a detail which I completely forgot about, & feel silly about missing.
Today, I have used:
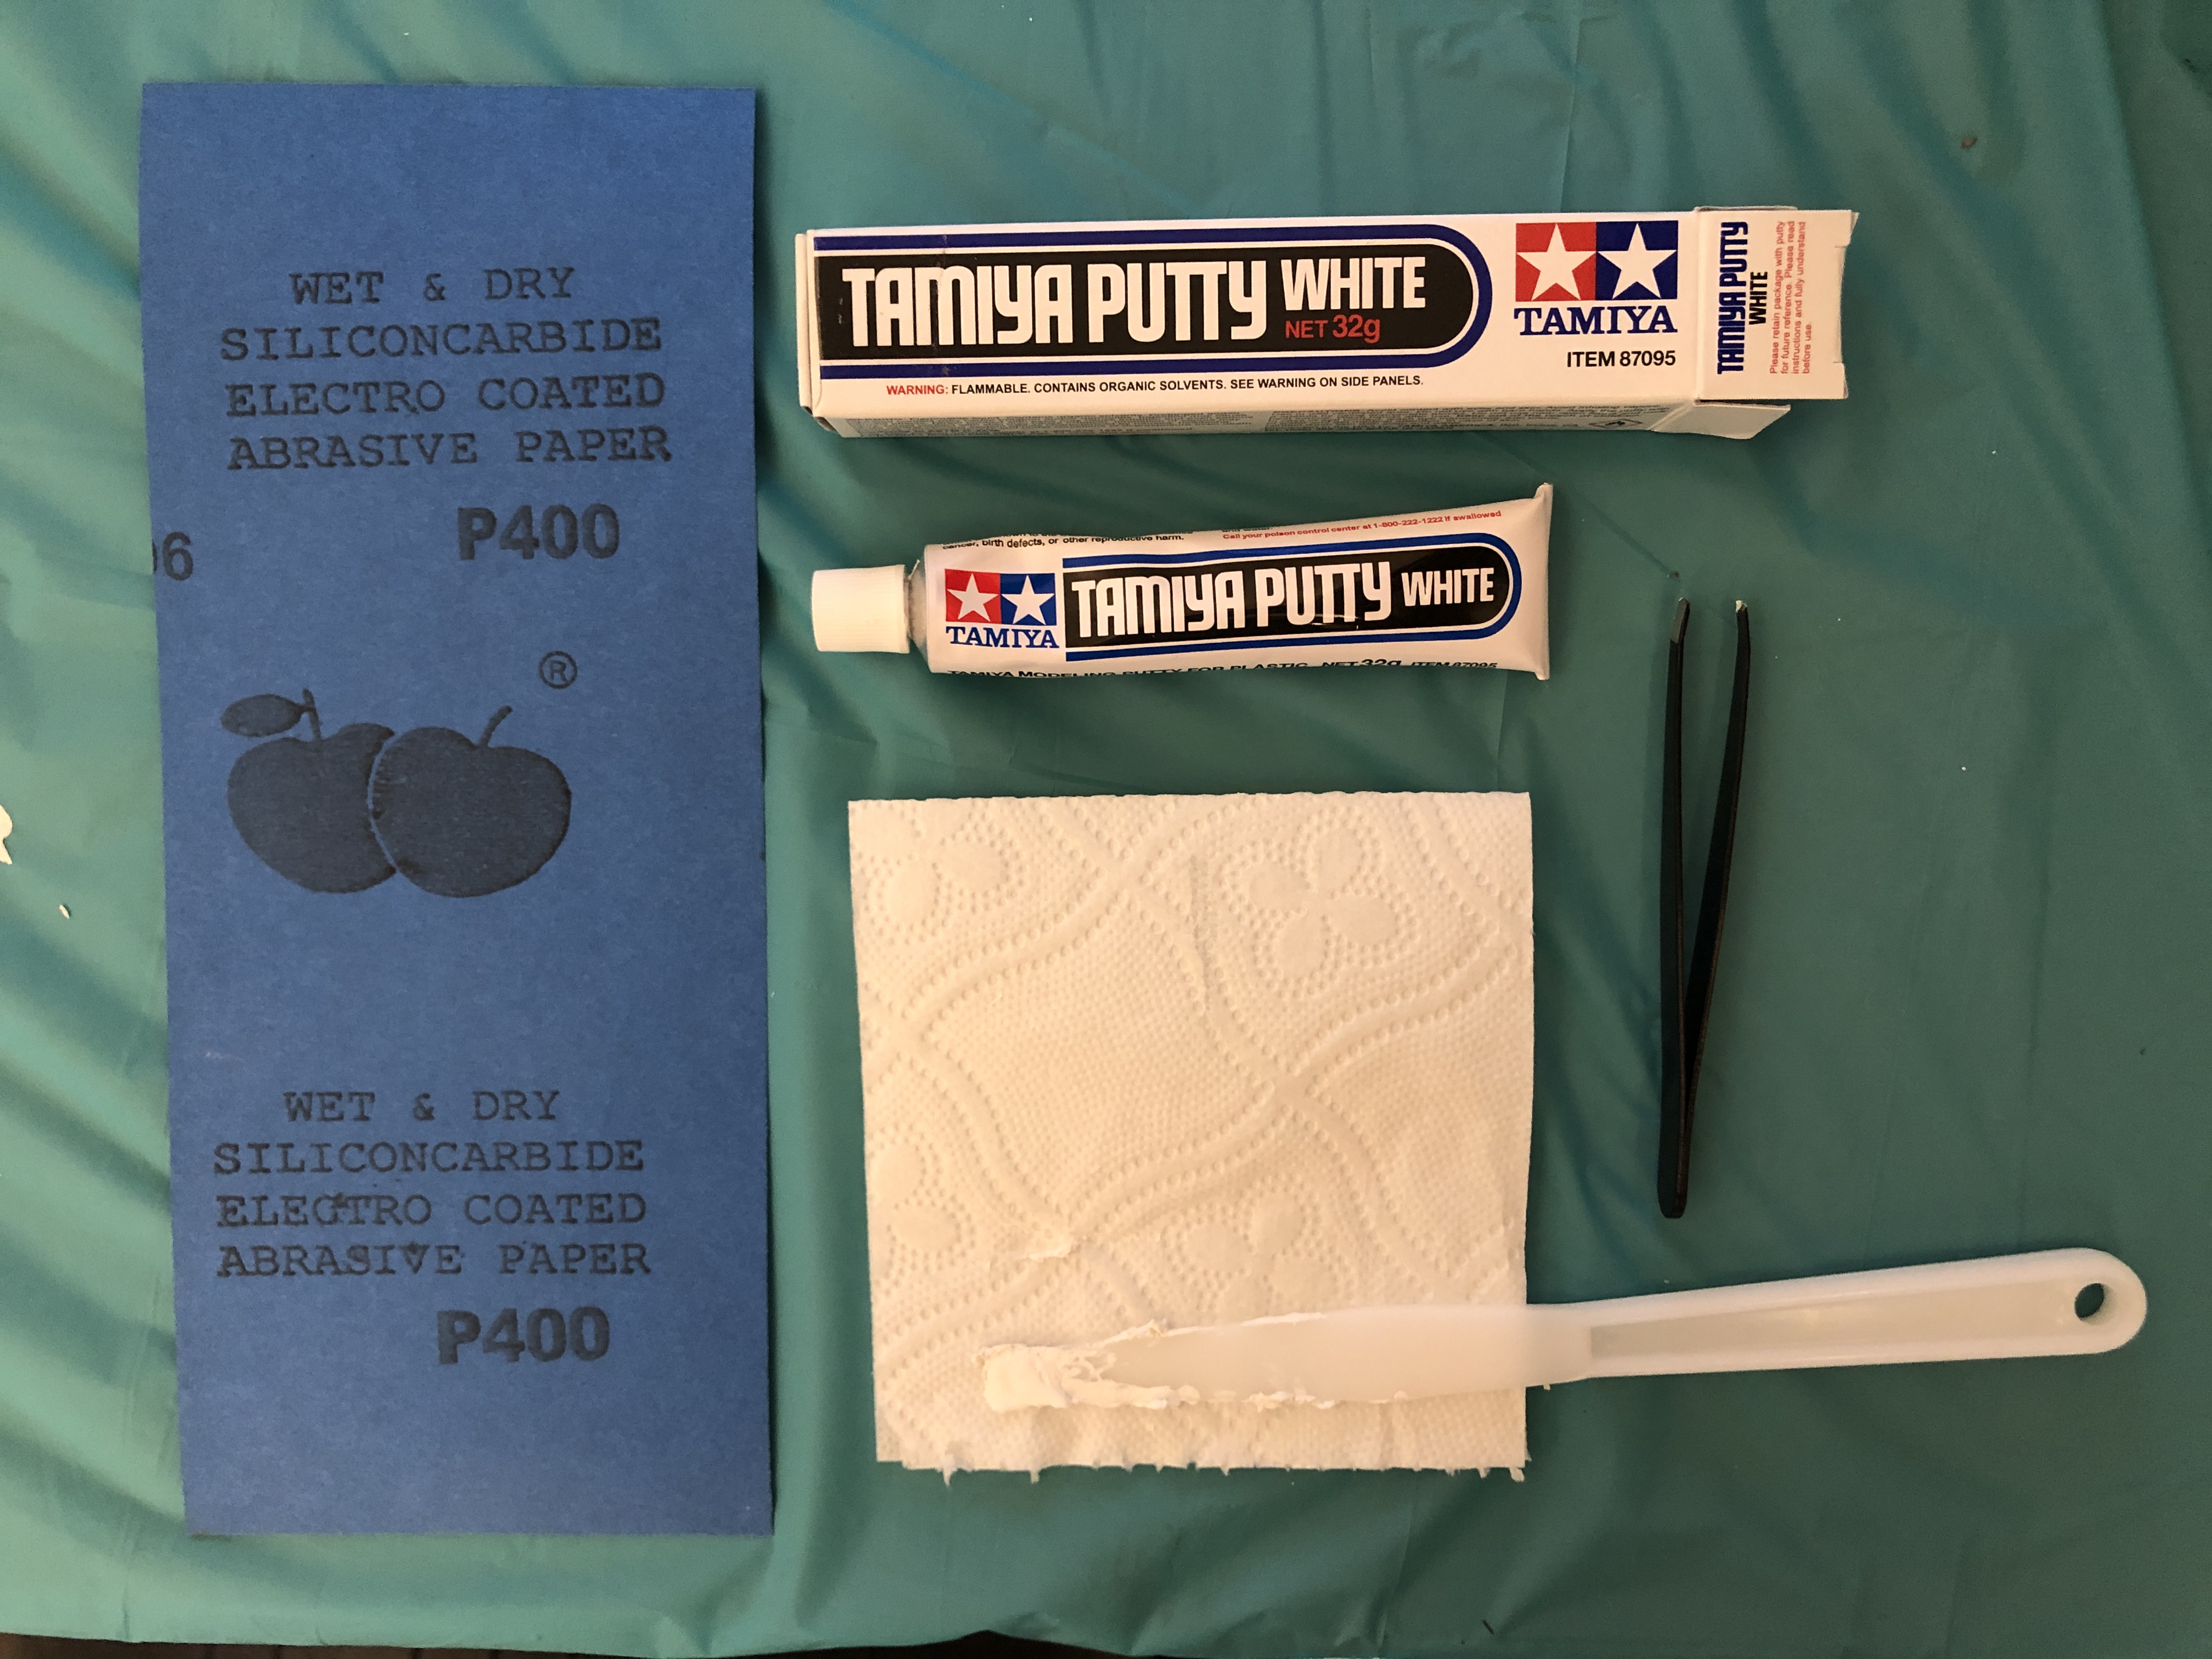
- Tamiya Bonding Putty (White,32g)
- A plastic palette knife nicked from school some months ago
- A P400 Wet&Dry Abrasive Paper (No-Name brand, part of a set of Sanding Paper)
All purchased on Amazon
The puttying process was weirdly unique. Not like I am unfamiliar with thick semi-fluids, but the substance was thinner than I thought, which is just another reminder to not expect anything /ever/. Dried very quickly too.
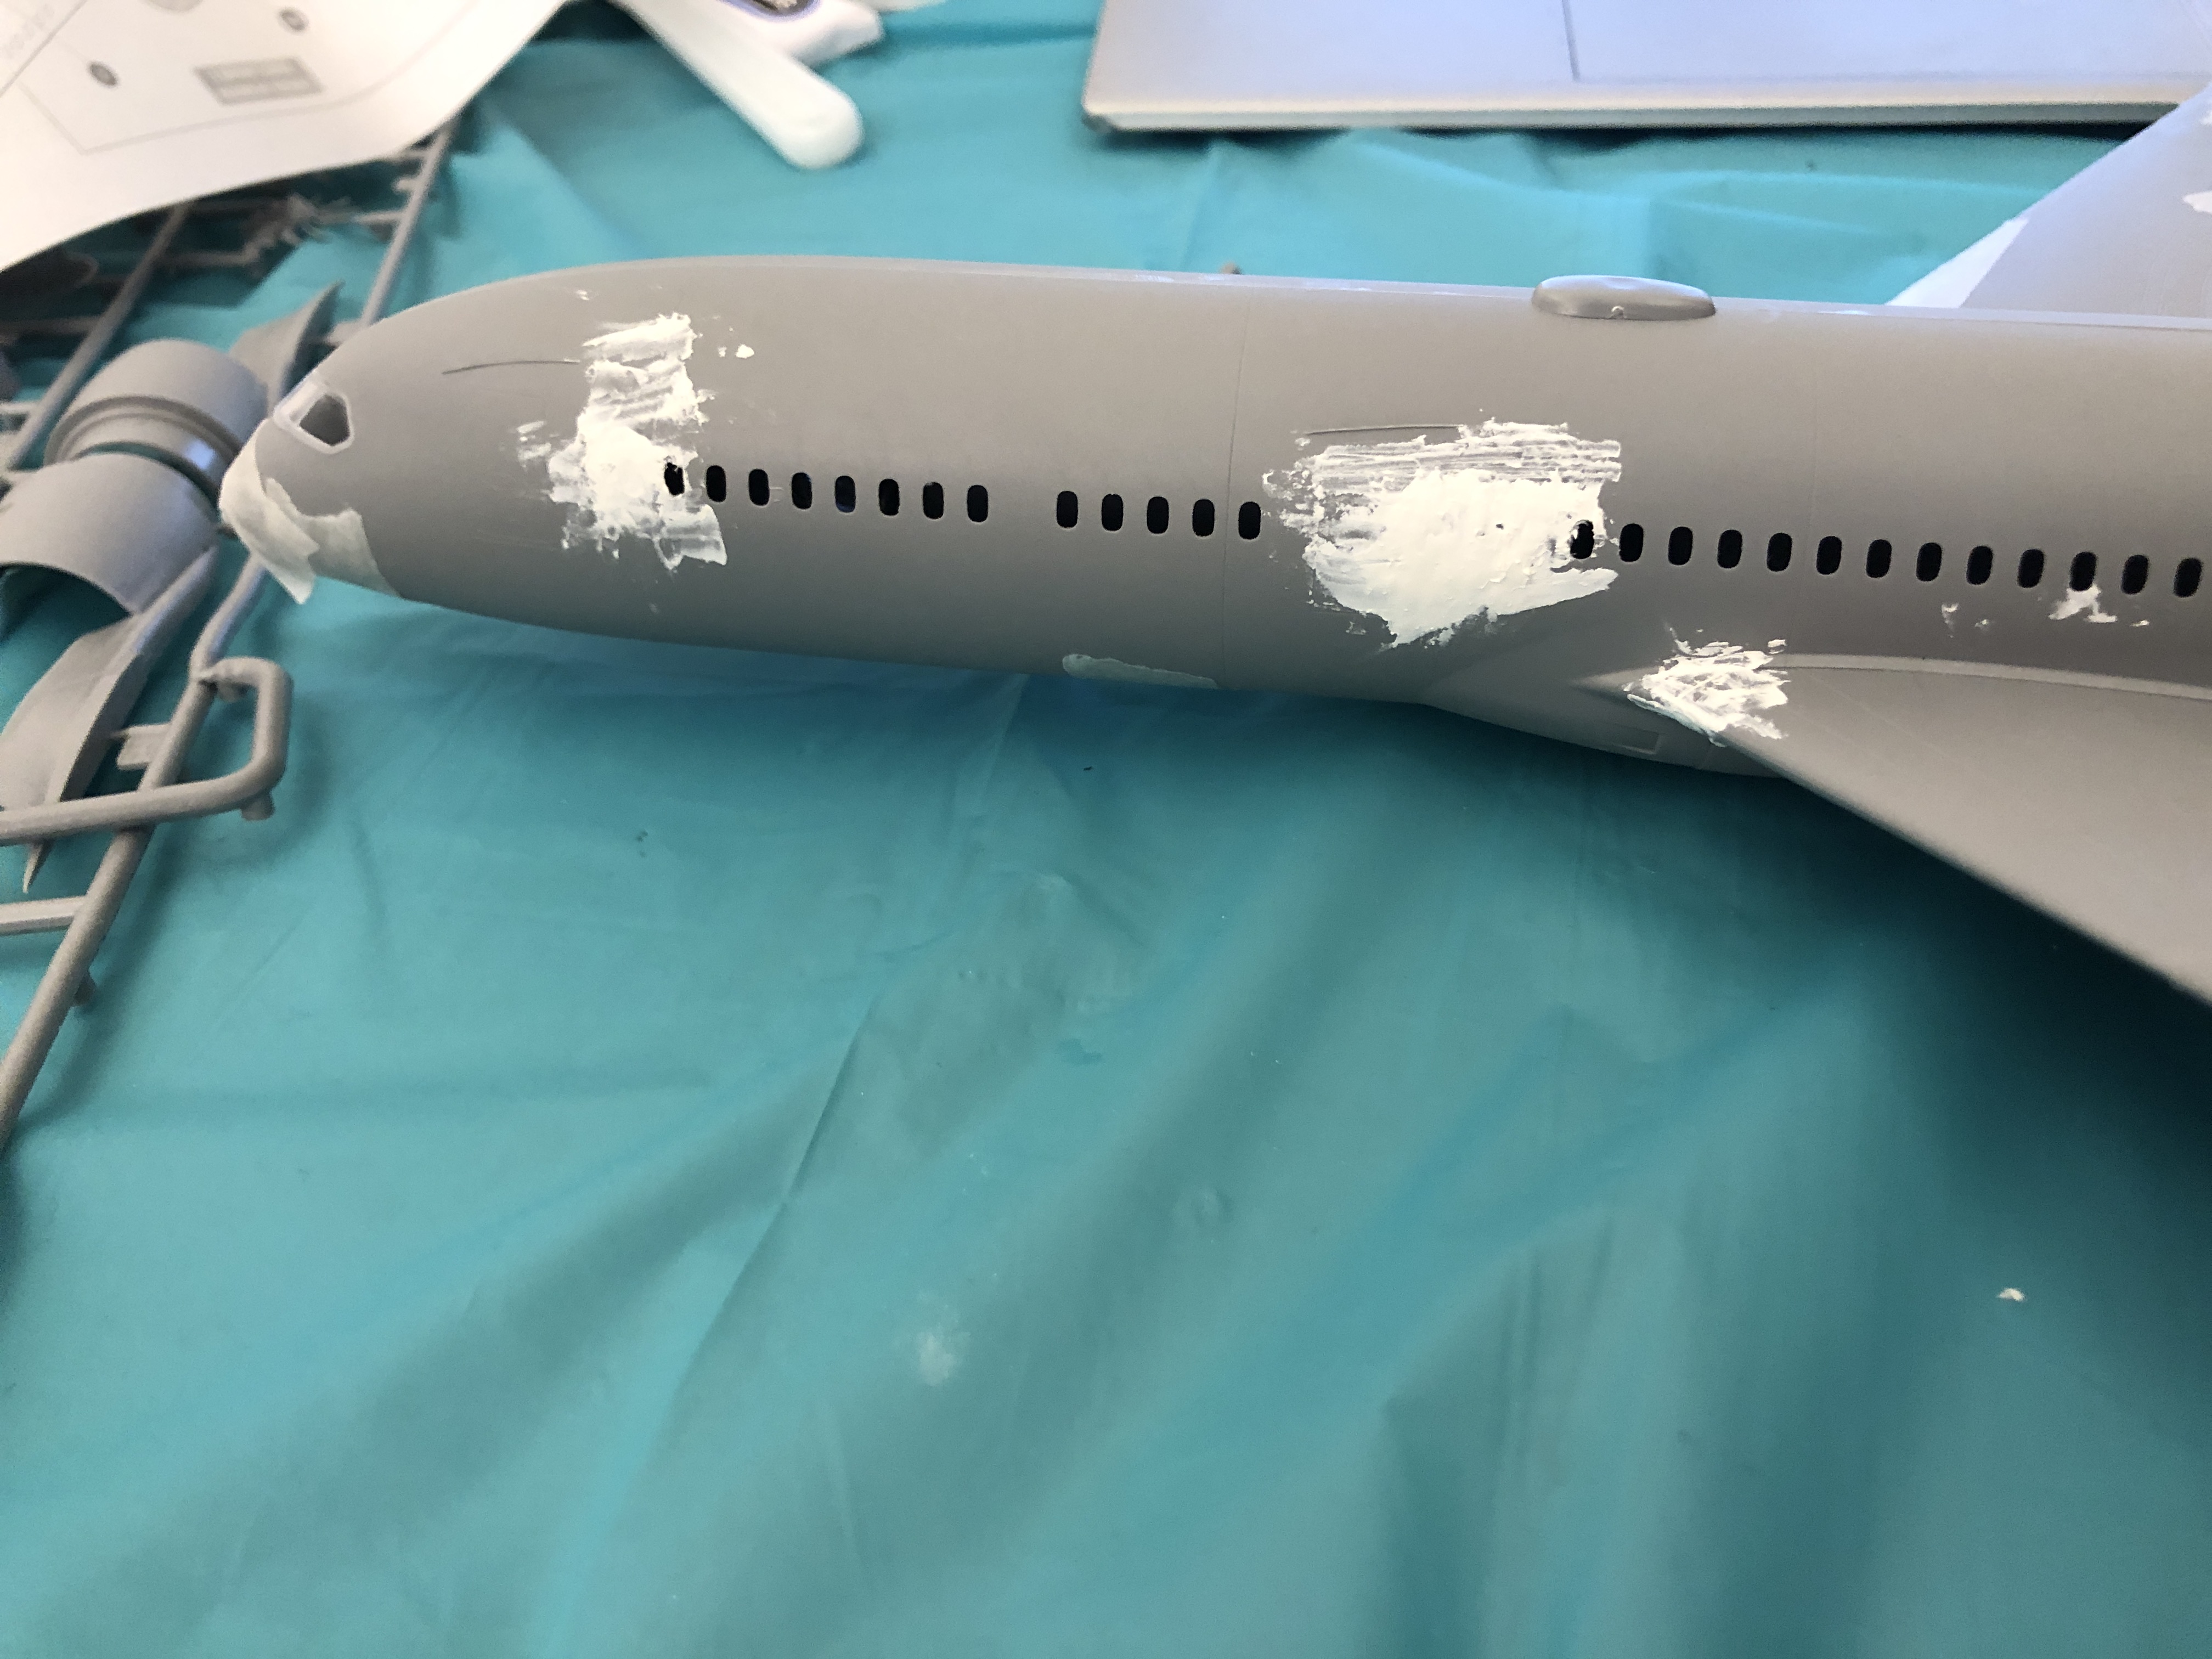
It was messy. /very/ messy. Should've used a box cutter, not a dull plastic palette knife. LEARNING OPPORTUNITY
Today's feature: Best windows putty!
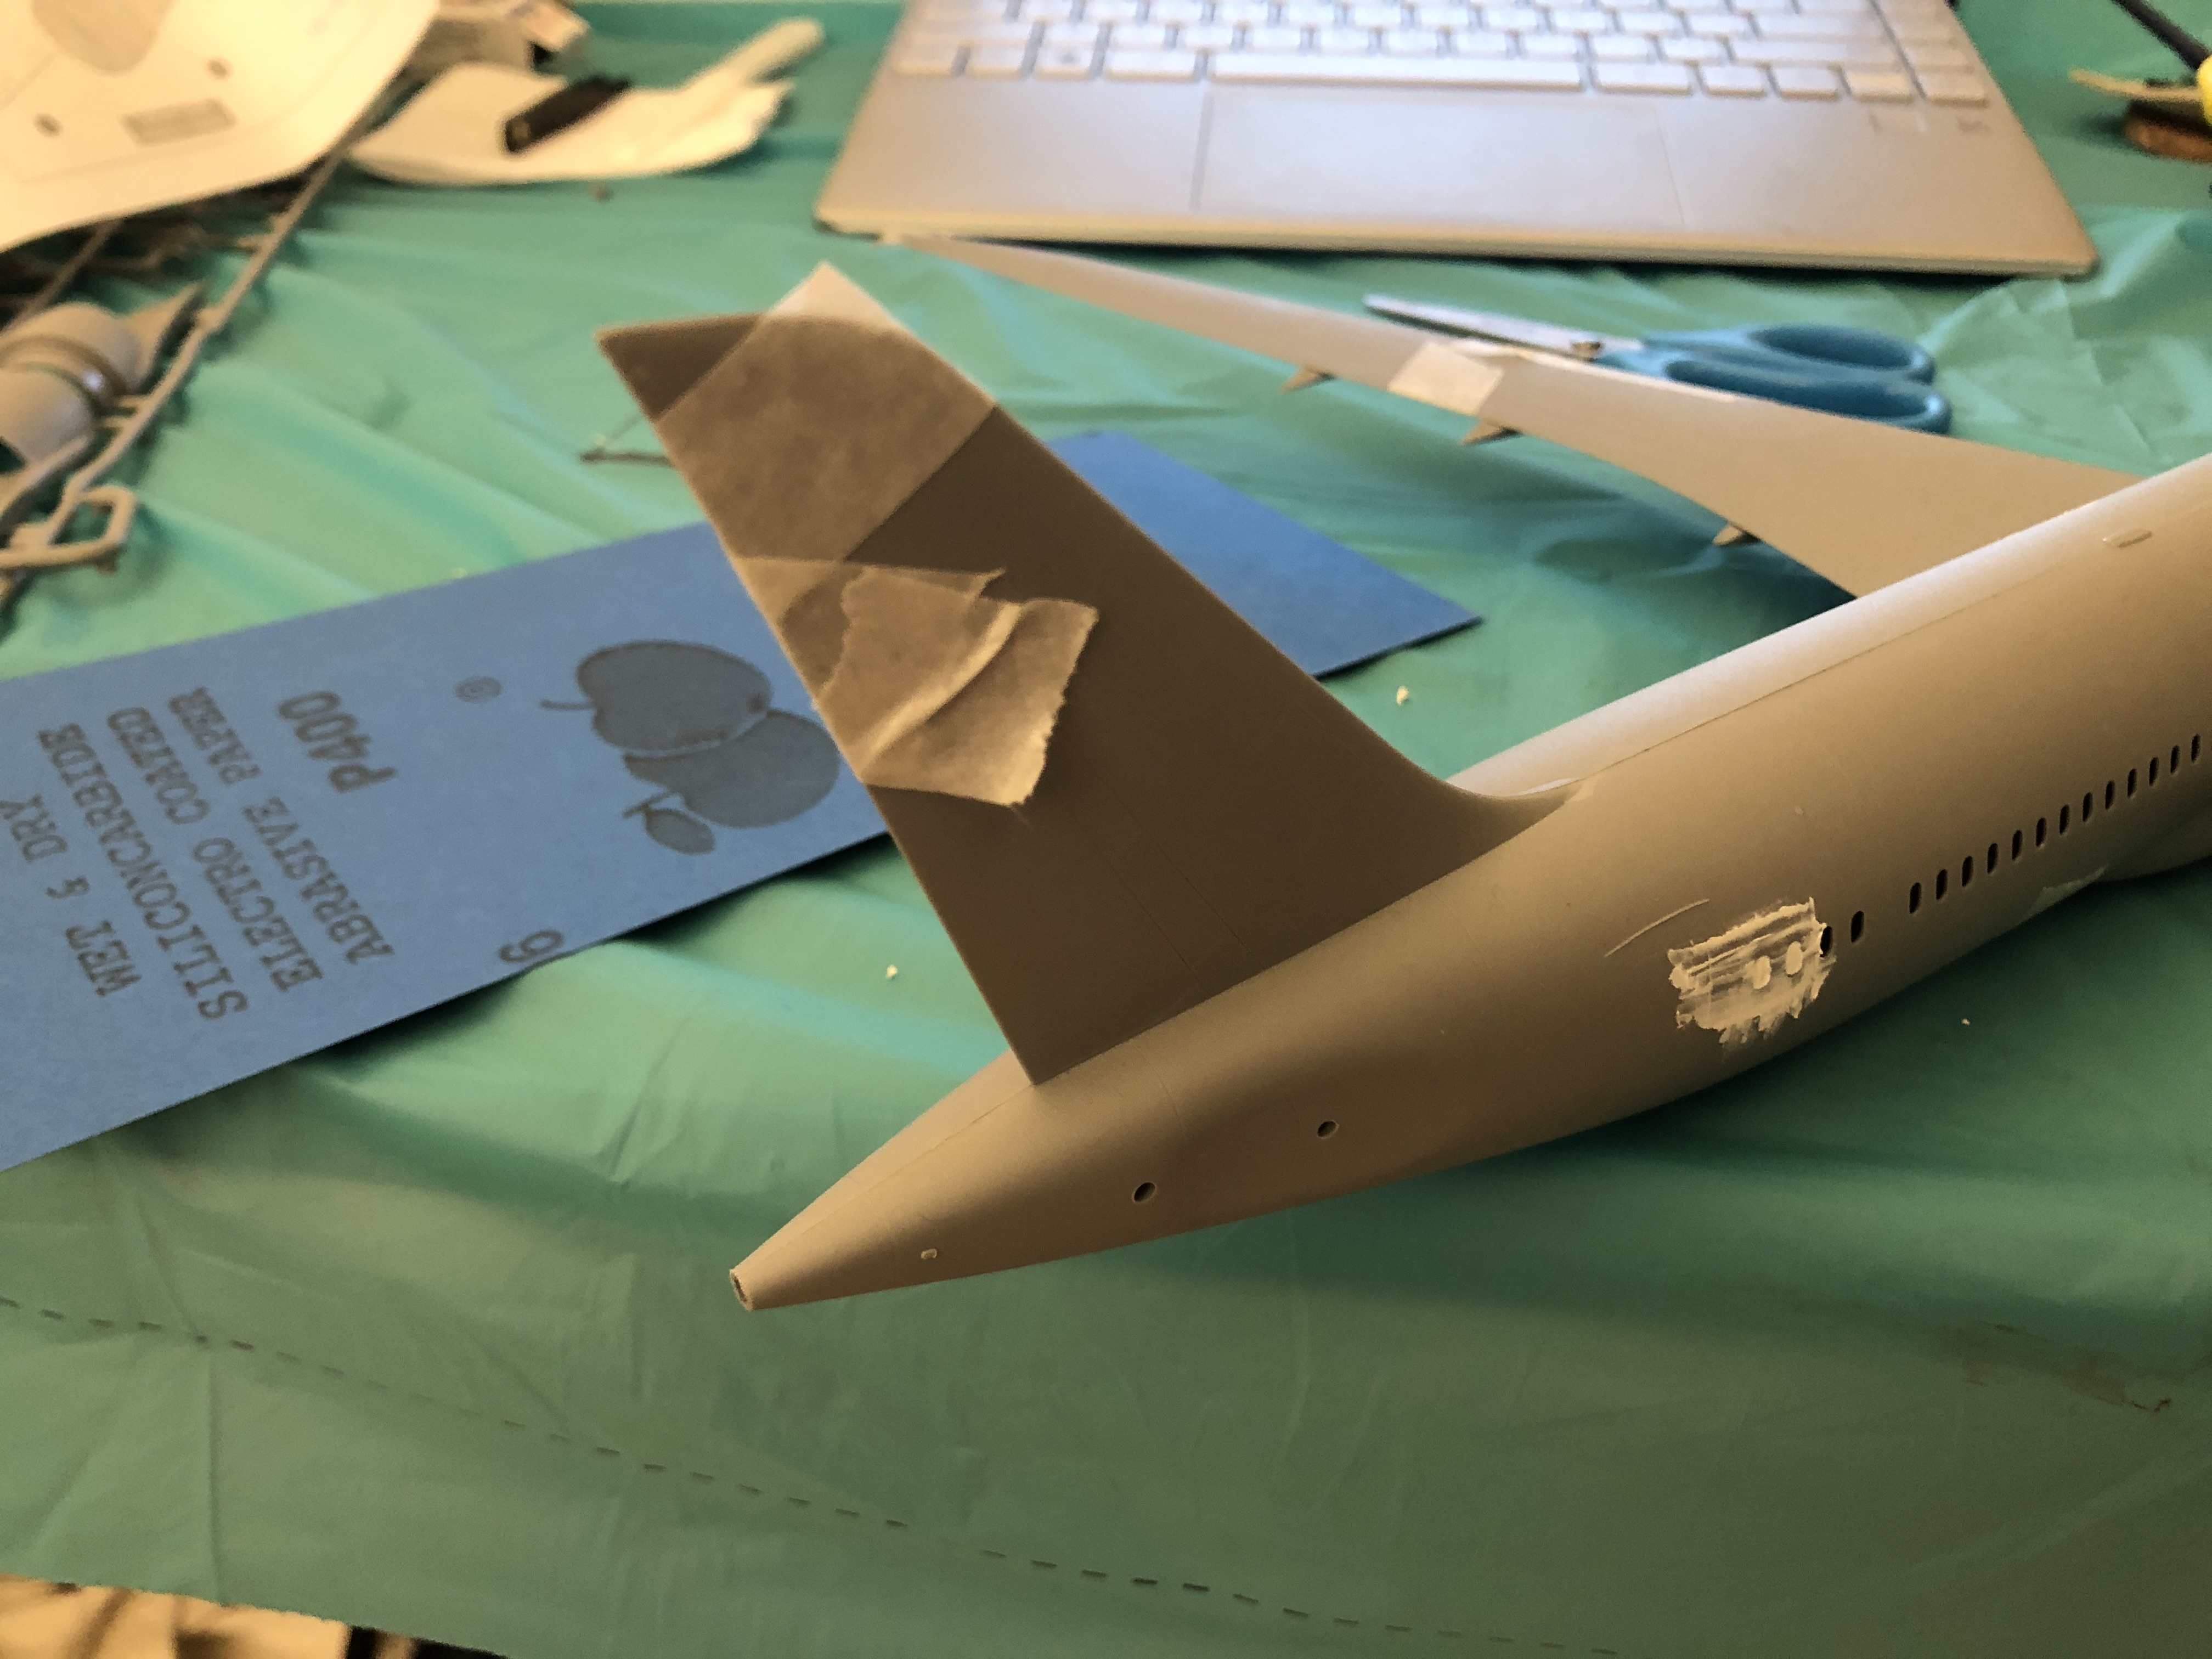
Miscellaneous: I have puttied a gape in a wing and left the tail taped, because it glued poorly and needed more time. Not its fault though.
After the putty dried, the next step was sanding. The video didn't provide detail, but actech80's AirlinerCafe forum thread had some useful responses.
Especially this one, which I will be referring to moving forward:
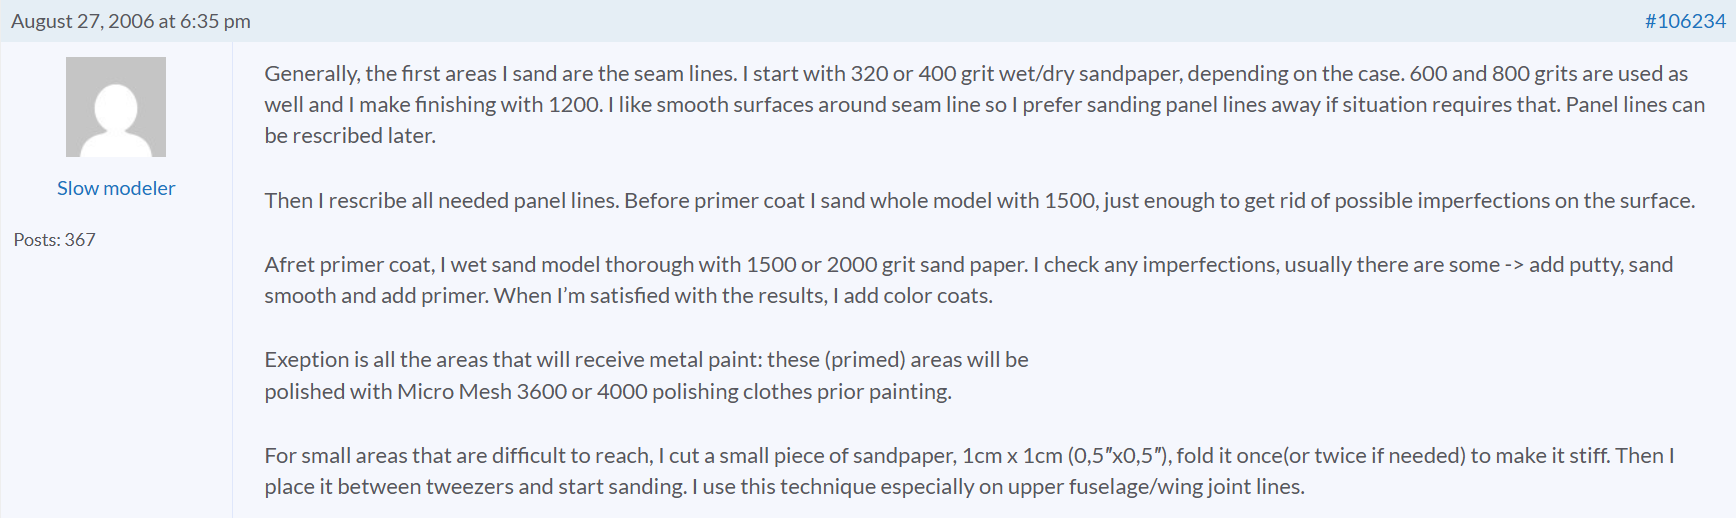
I cut a piece of sandpaper exactly around the word 'Wet', dipped it in water, & sanded down the seams and windows.
I did not record the time, but it wasn't too long. 15-20 minutes of scrubbing and scrubbing and scrubbing which was unearthing and smoothing and also left very dirty hands I had to walk back and forth to wash.
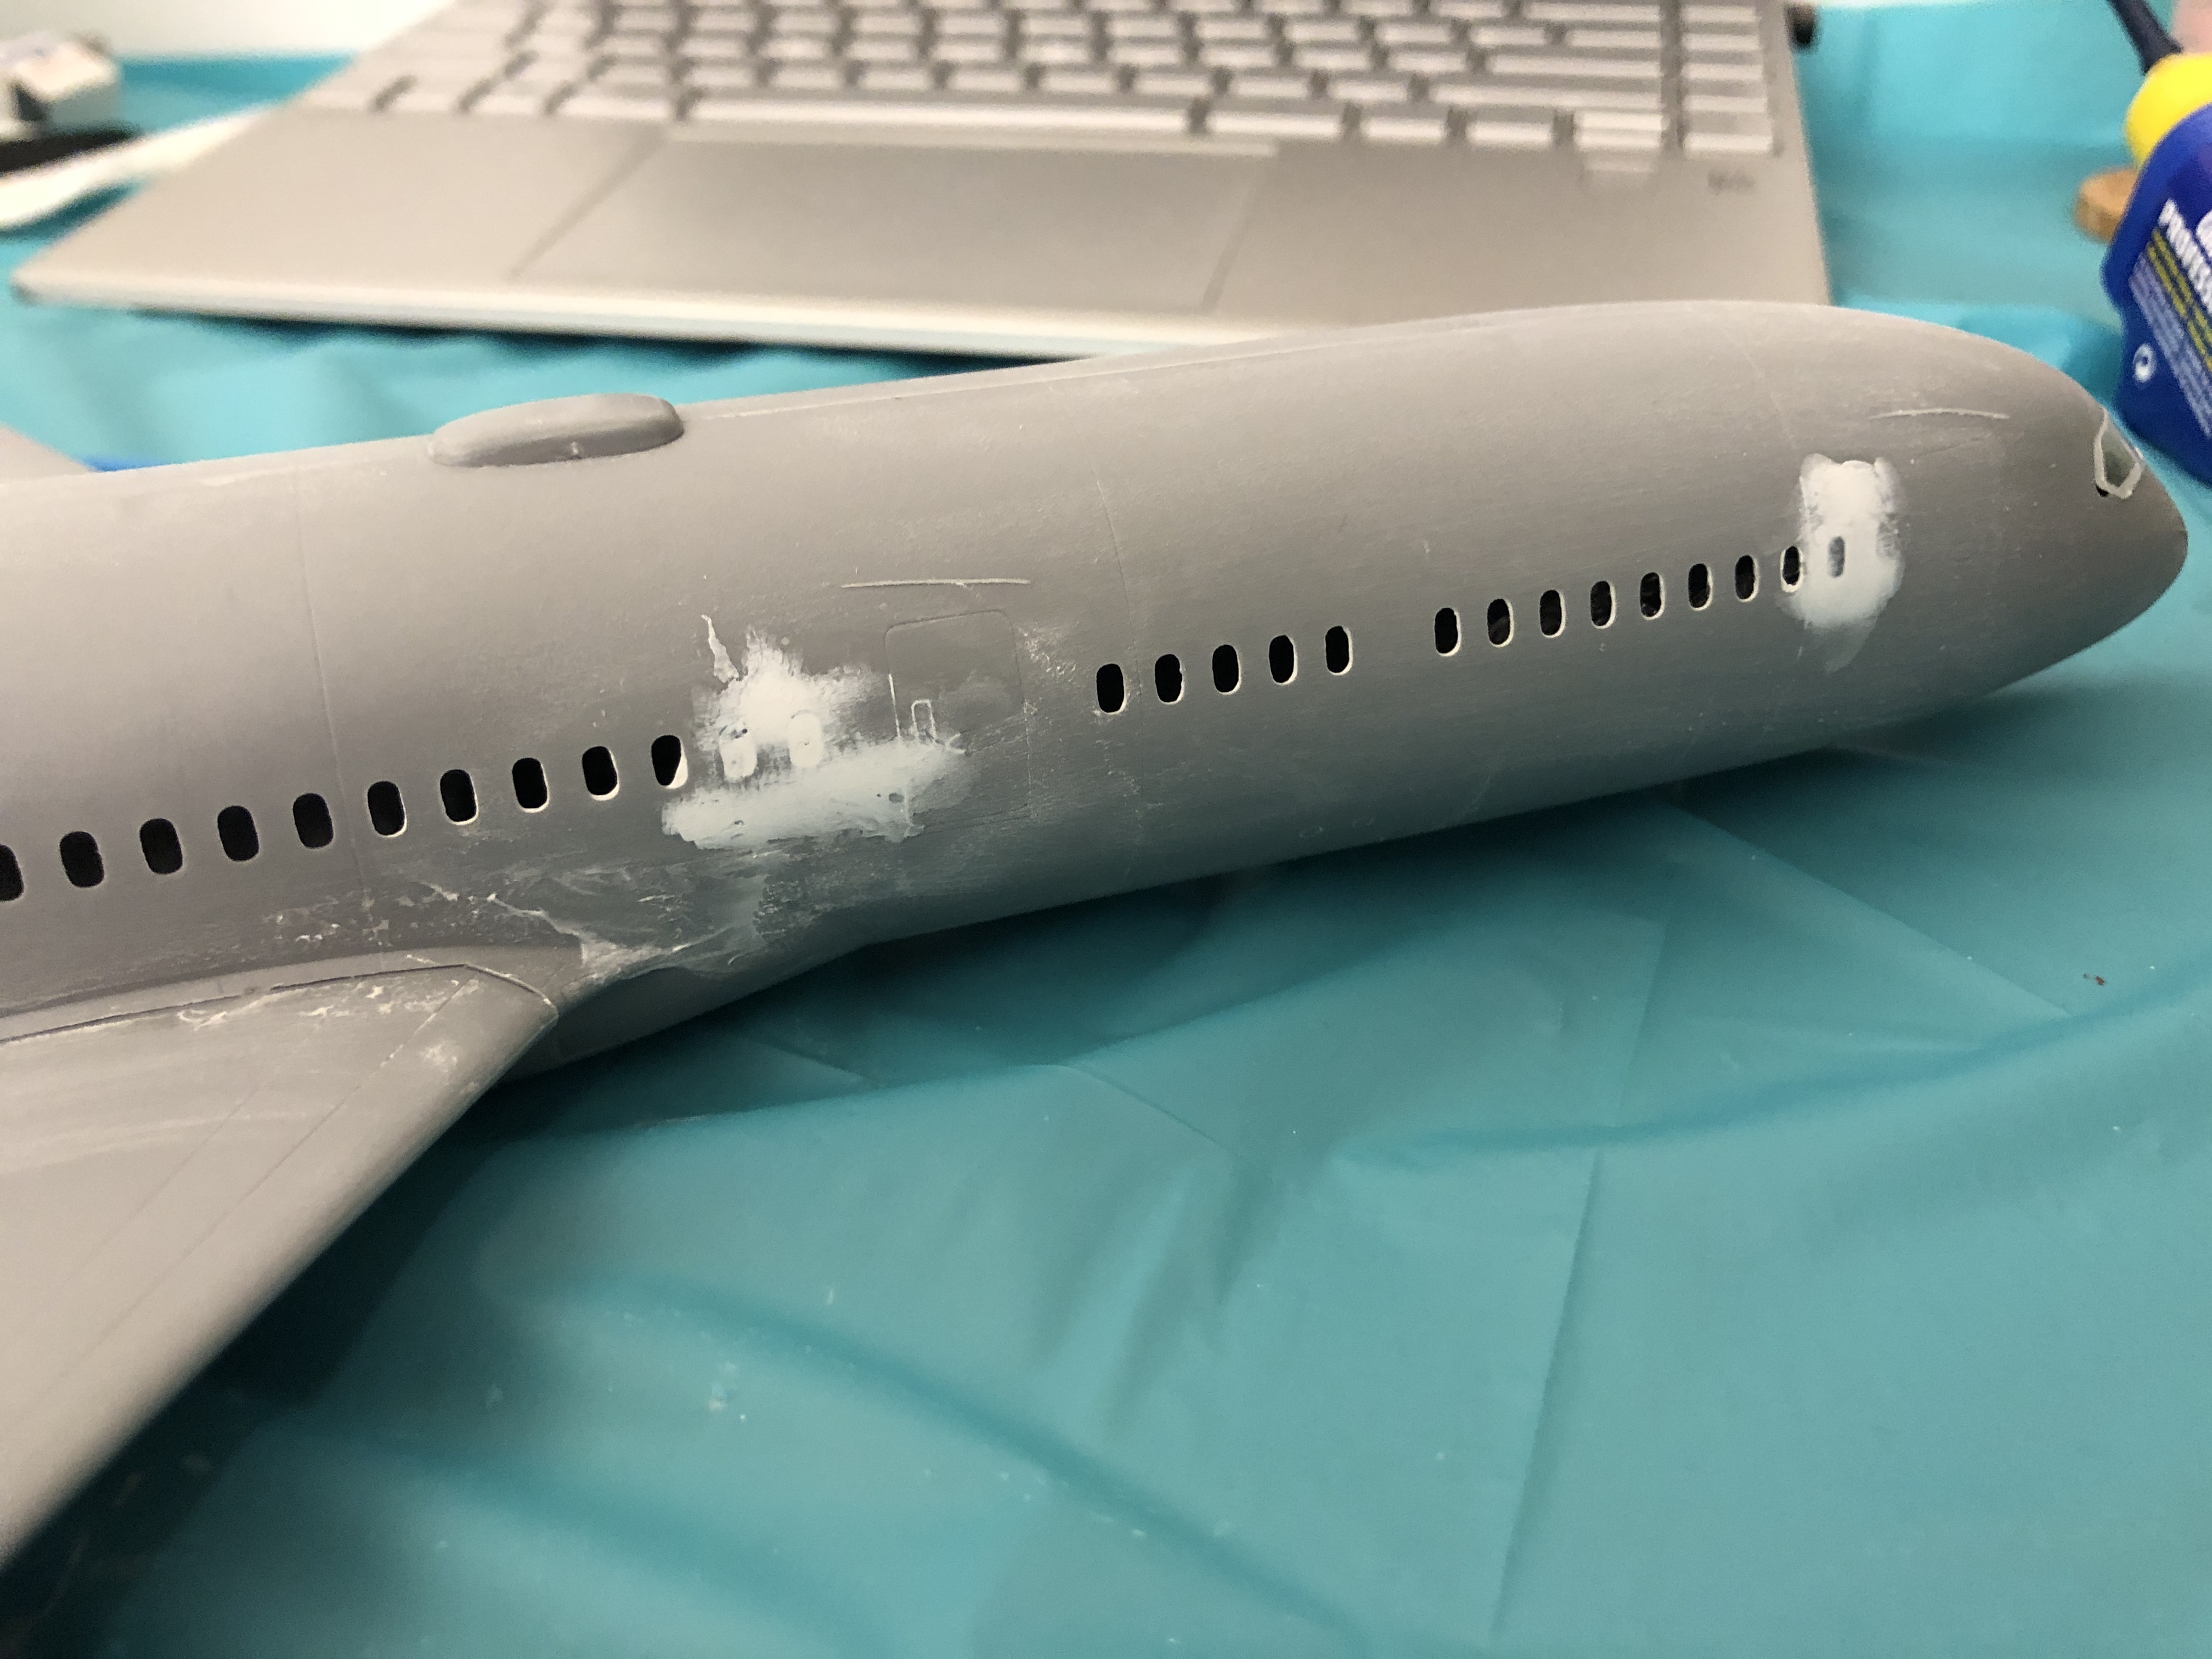
The girl looked all messed up. Embarassing picture:
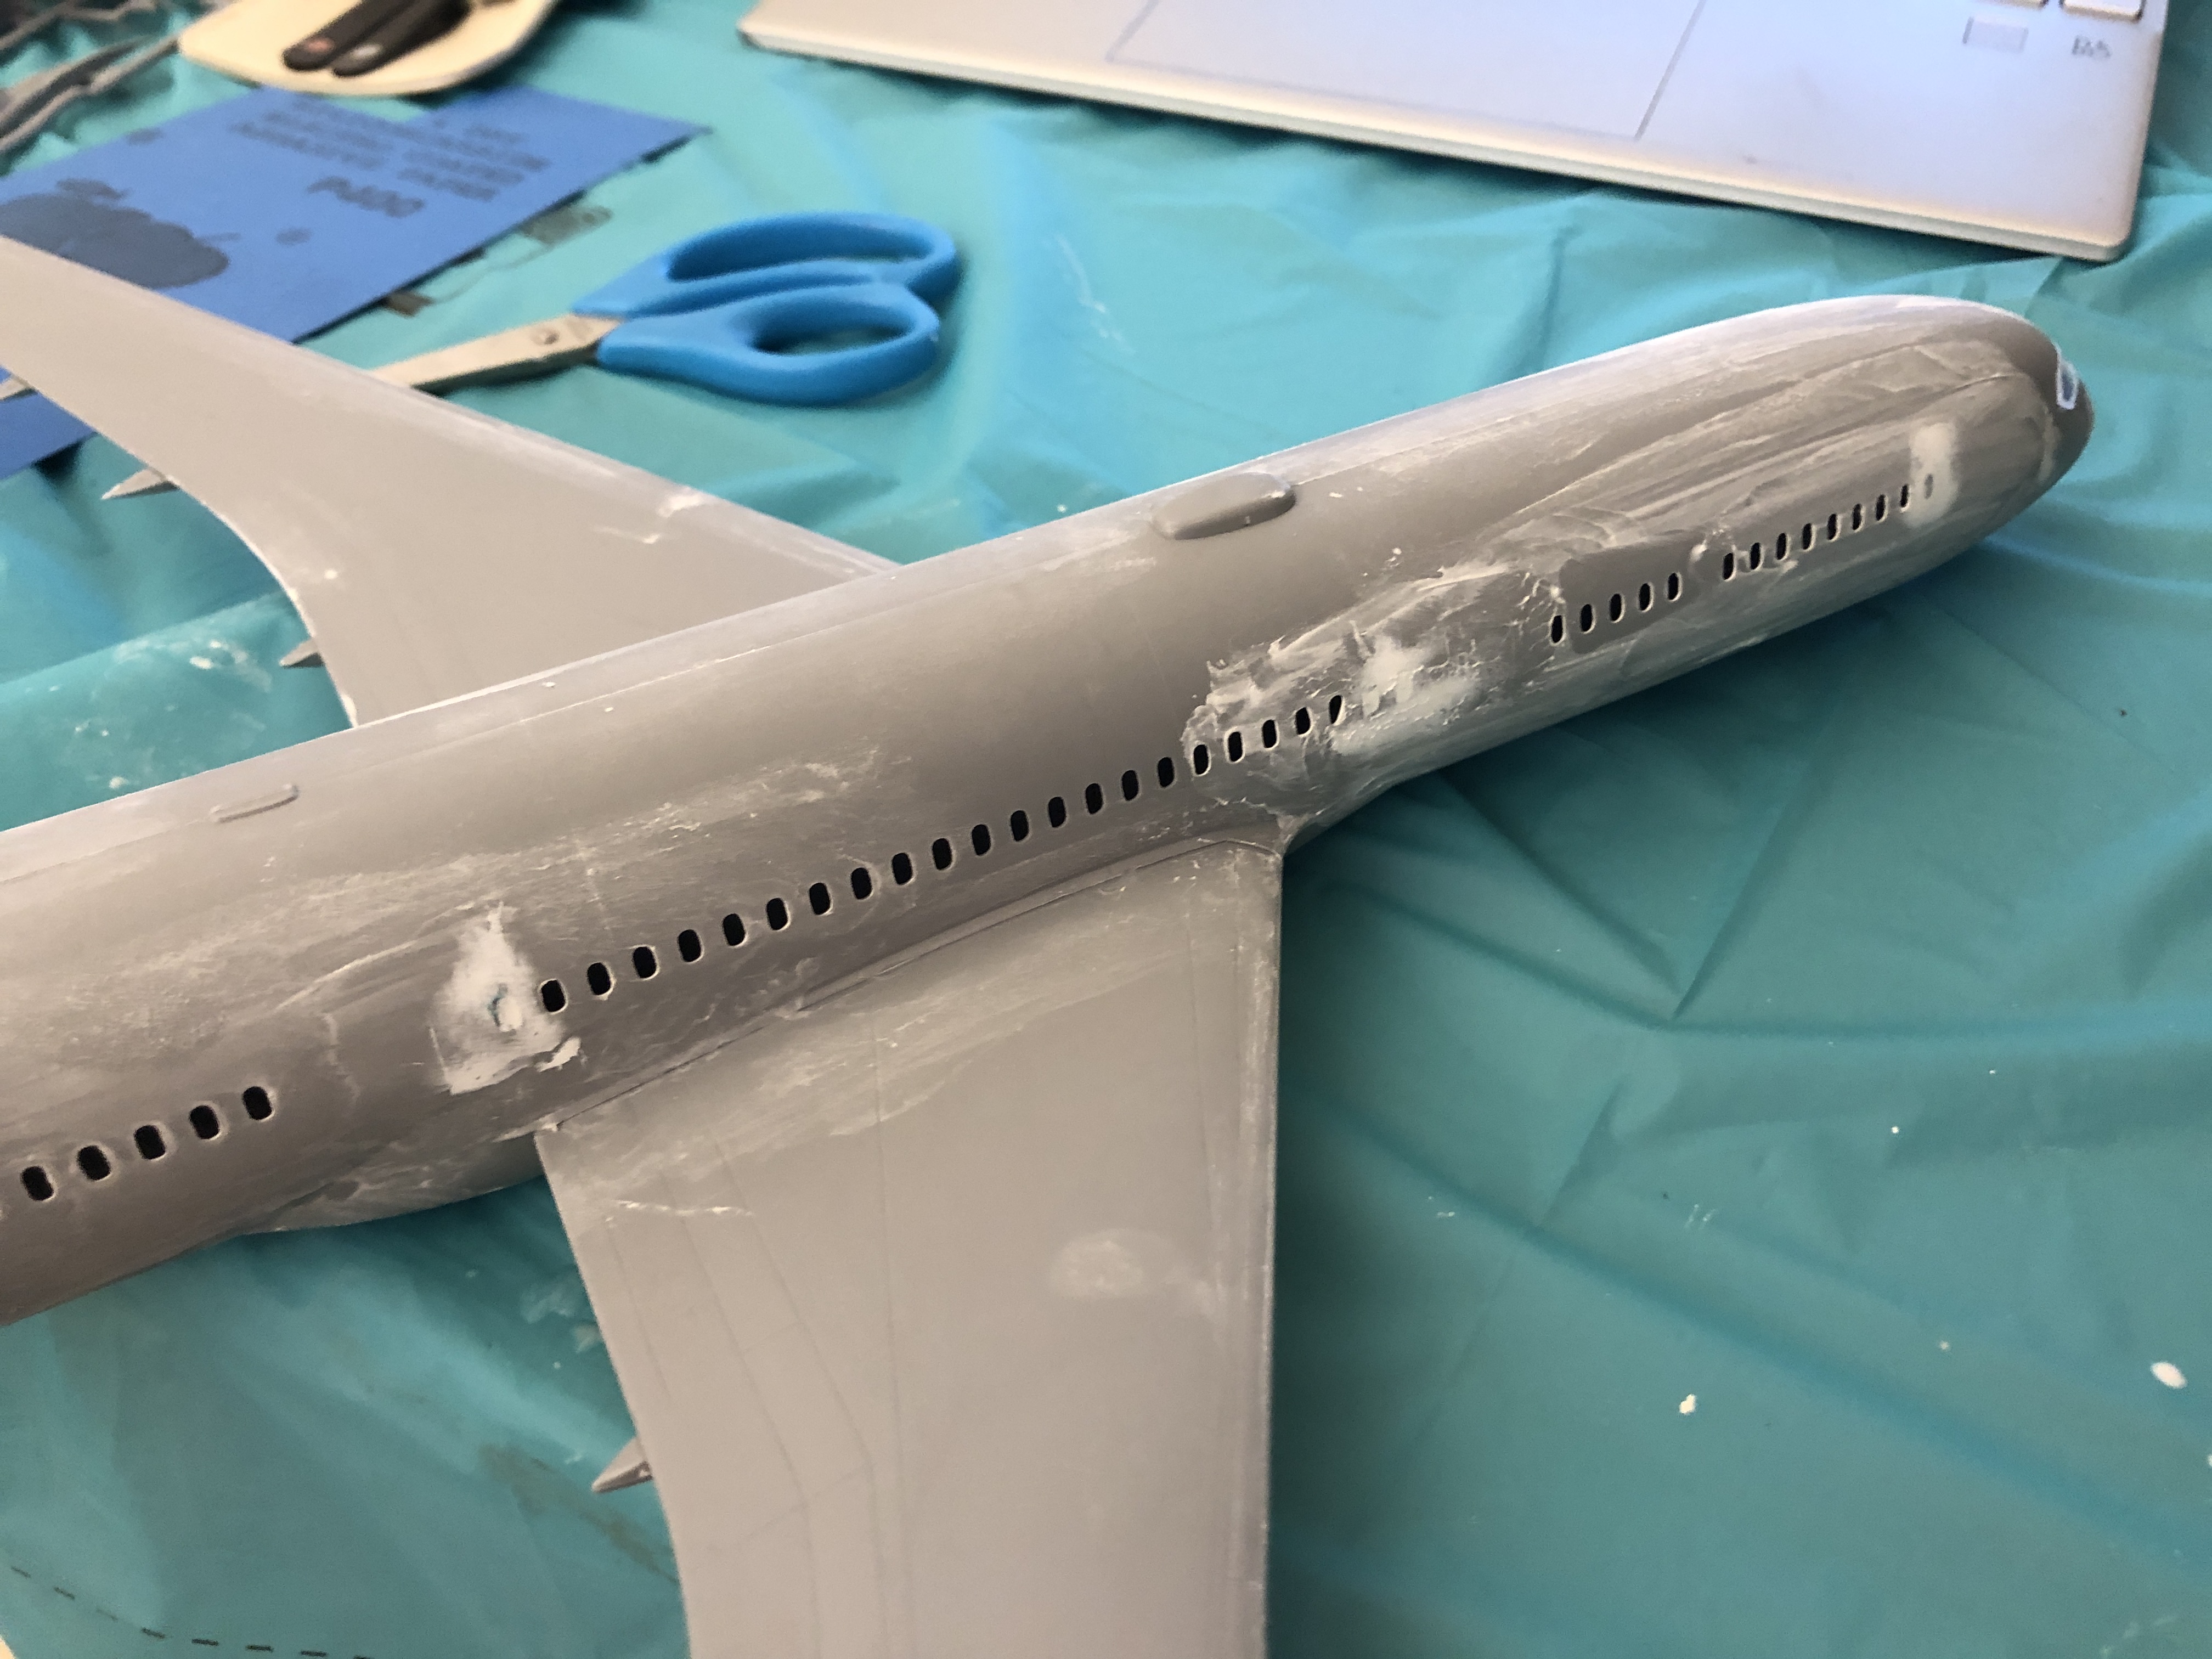
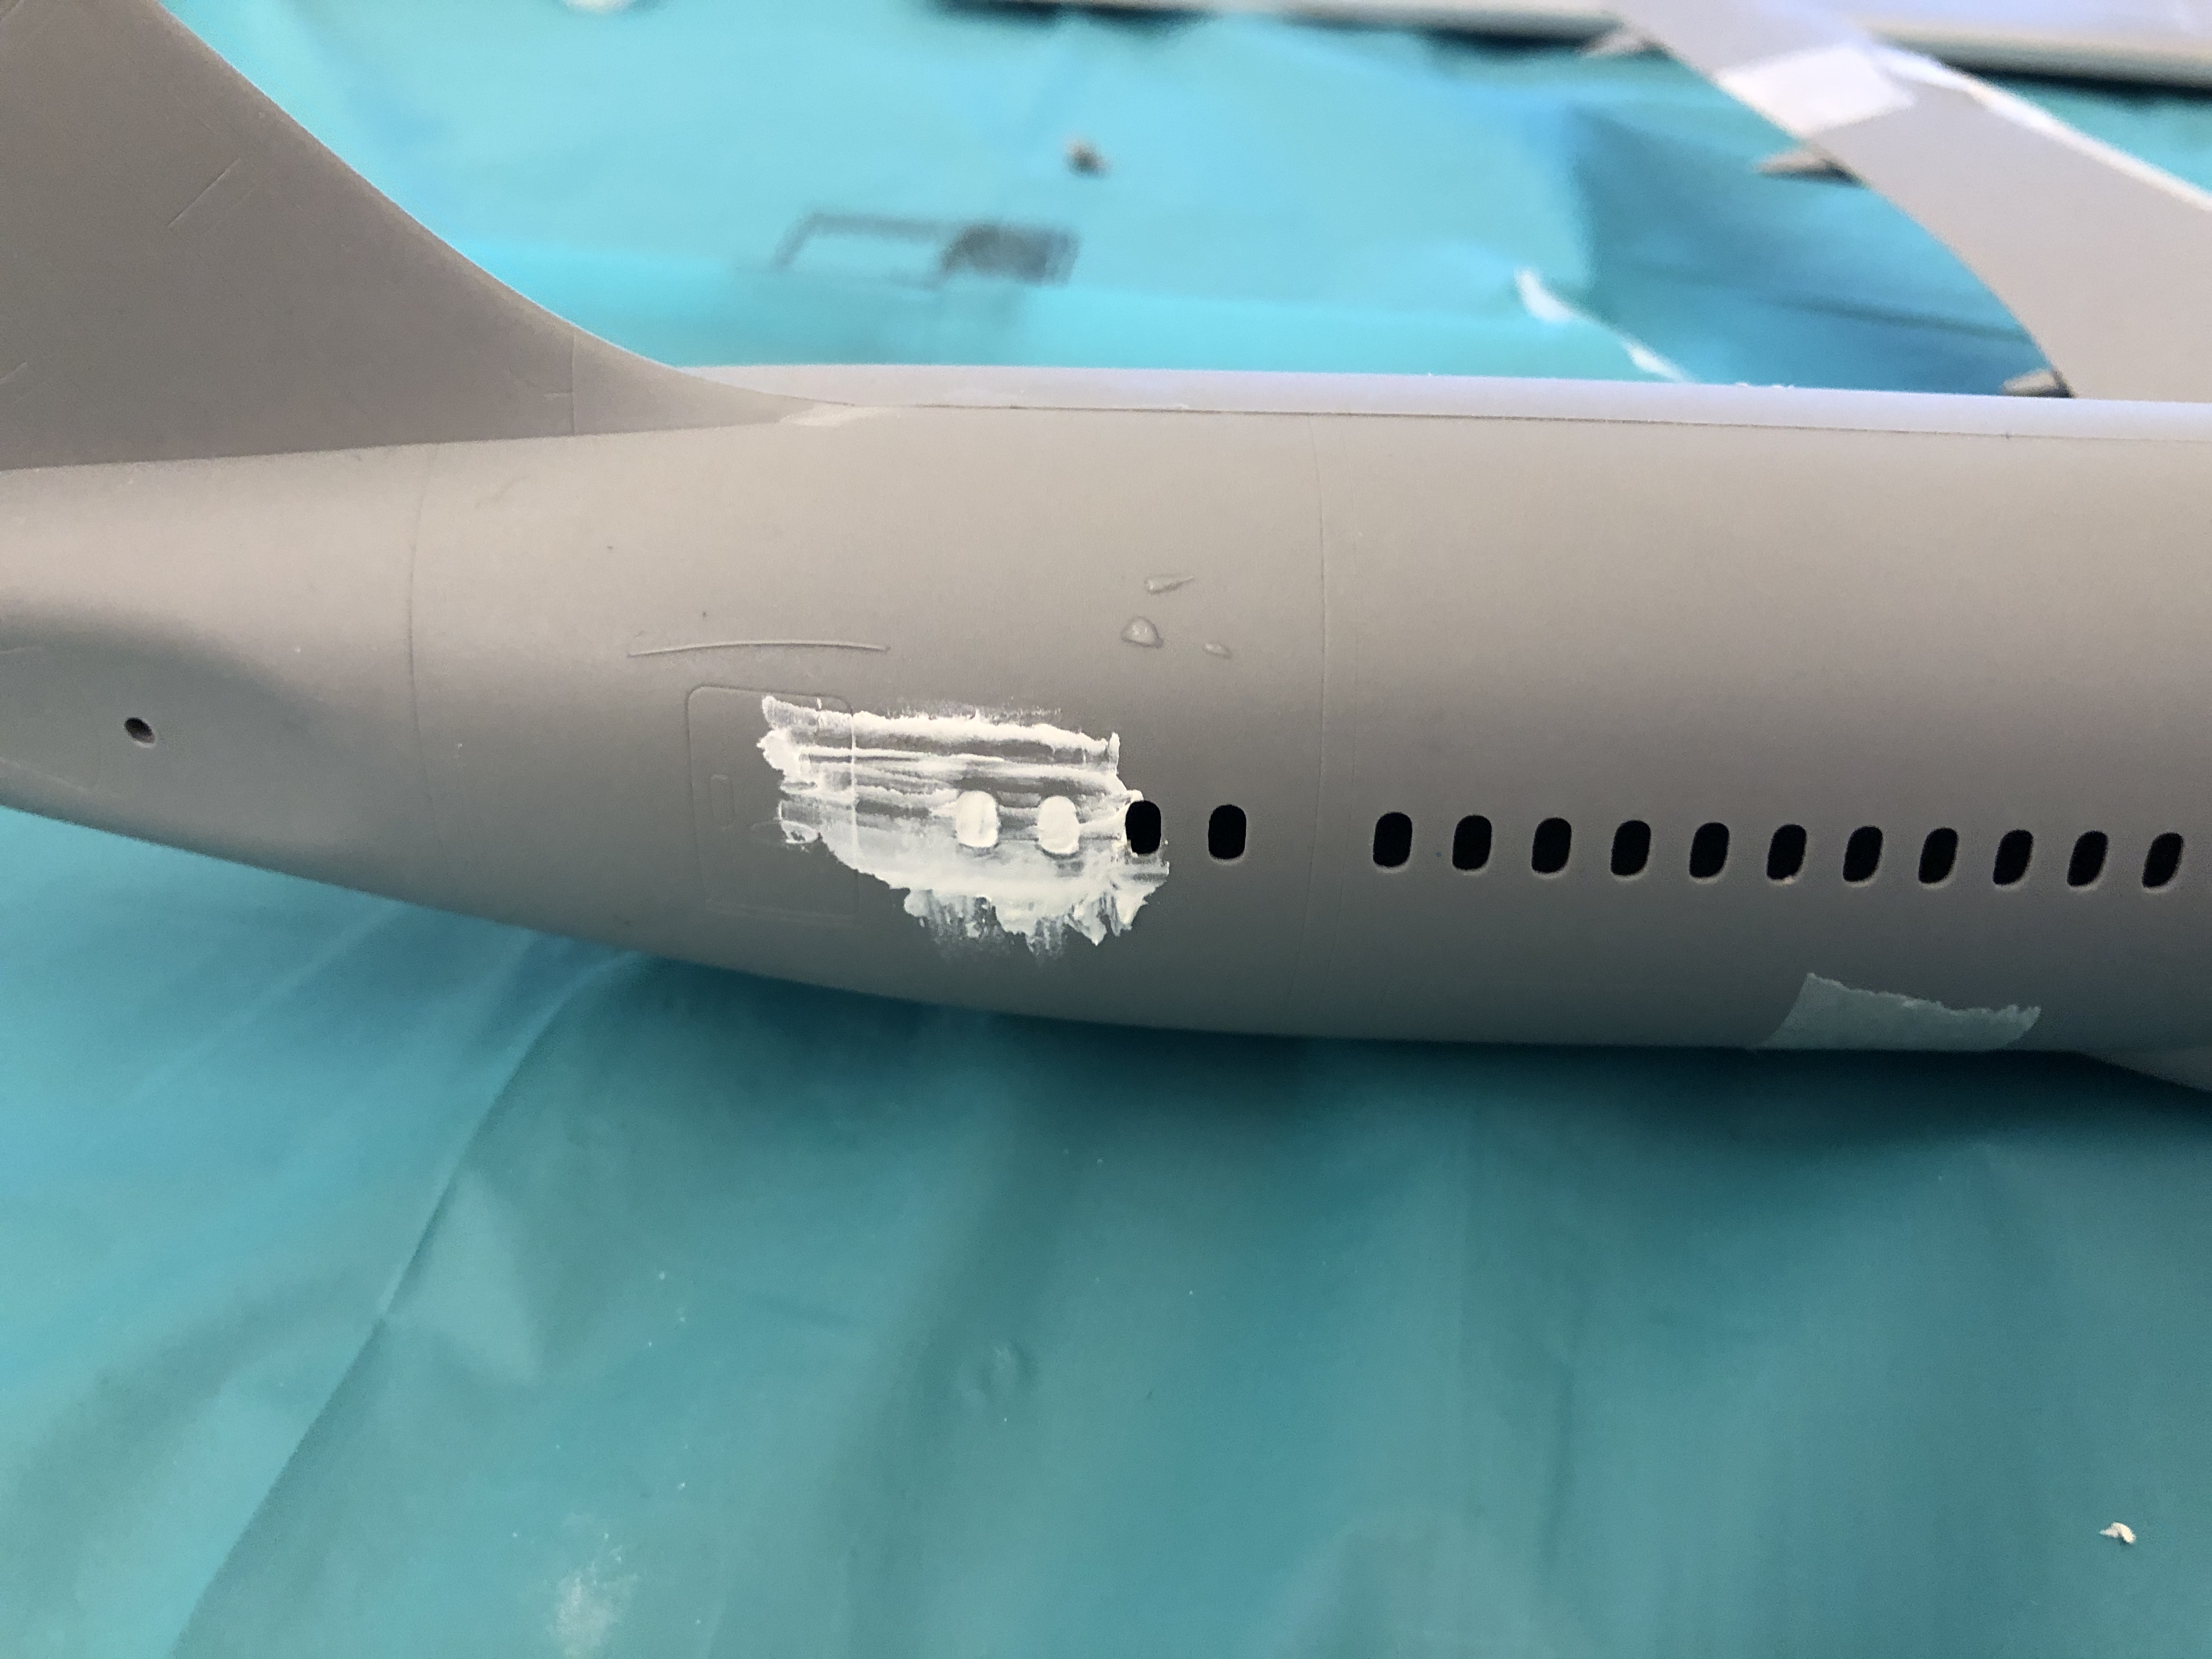
But I gave her a sweet+careful wipedown with a little water. Much less embarassing picture:
The entire session wasn't as long as it felt, or as I imagined it right afterwards. But any few minutes are a meaningful few minutes, so it is not a big deal. Not much of note happened today; I've mentioned it but I moved to Notepad++ for offline editing. This will be the 1st page published as such. Fun, isn't it? Pave the way, little plane, good luck!
Current plan: Keep sanding & puttying & sanding & puttying until she is so smooth you cannot see a single edge to her and she will keep slipping out (Joke!)
Current feelings: Anxious! Many say that your 1st model may go wrong many ways. Many also start their models without much prior craft knowledge, which is where I differ. But I do not differ too much, as we are all similar people, which means that their many wrong ways are my many wrong ways. But I hope! I will hope.
<*><*><*><*><*><*><*><*><*><*><*><*><*><*><*><*><*><*><*><*>
Friday Apr 04 2025, Logged at 4:28PM
Now that I have promised myself to never stop moving and have no intention to work on my homework today, I have decided to begin assembling my Boeing 787-9 Dreamliner 1/144 scale model that I got back in January as a New Years treat.
I will be using "Assembly / Zvezda 1/144 scale Boeing 787-9 Norwegian Air Shuttle (Freddie Mercury Tail)/ Zocker J" by Zocker J on YouTube as a general guidance. The links lead to the video & his channel.
Now, the box is quite large in width. Here it is photographed laying on my floor:
I unfortunately do not have a photo of the contents untouched as I wasn't originally planning on making a page. I changed my mind, though, as you can see. :-)
At this stage, I have used:
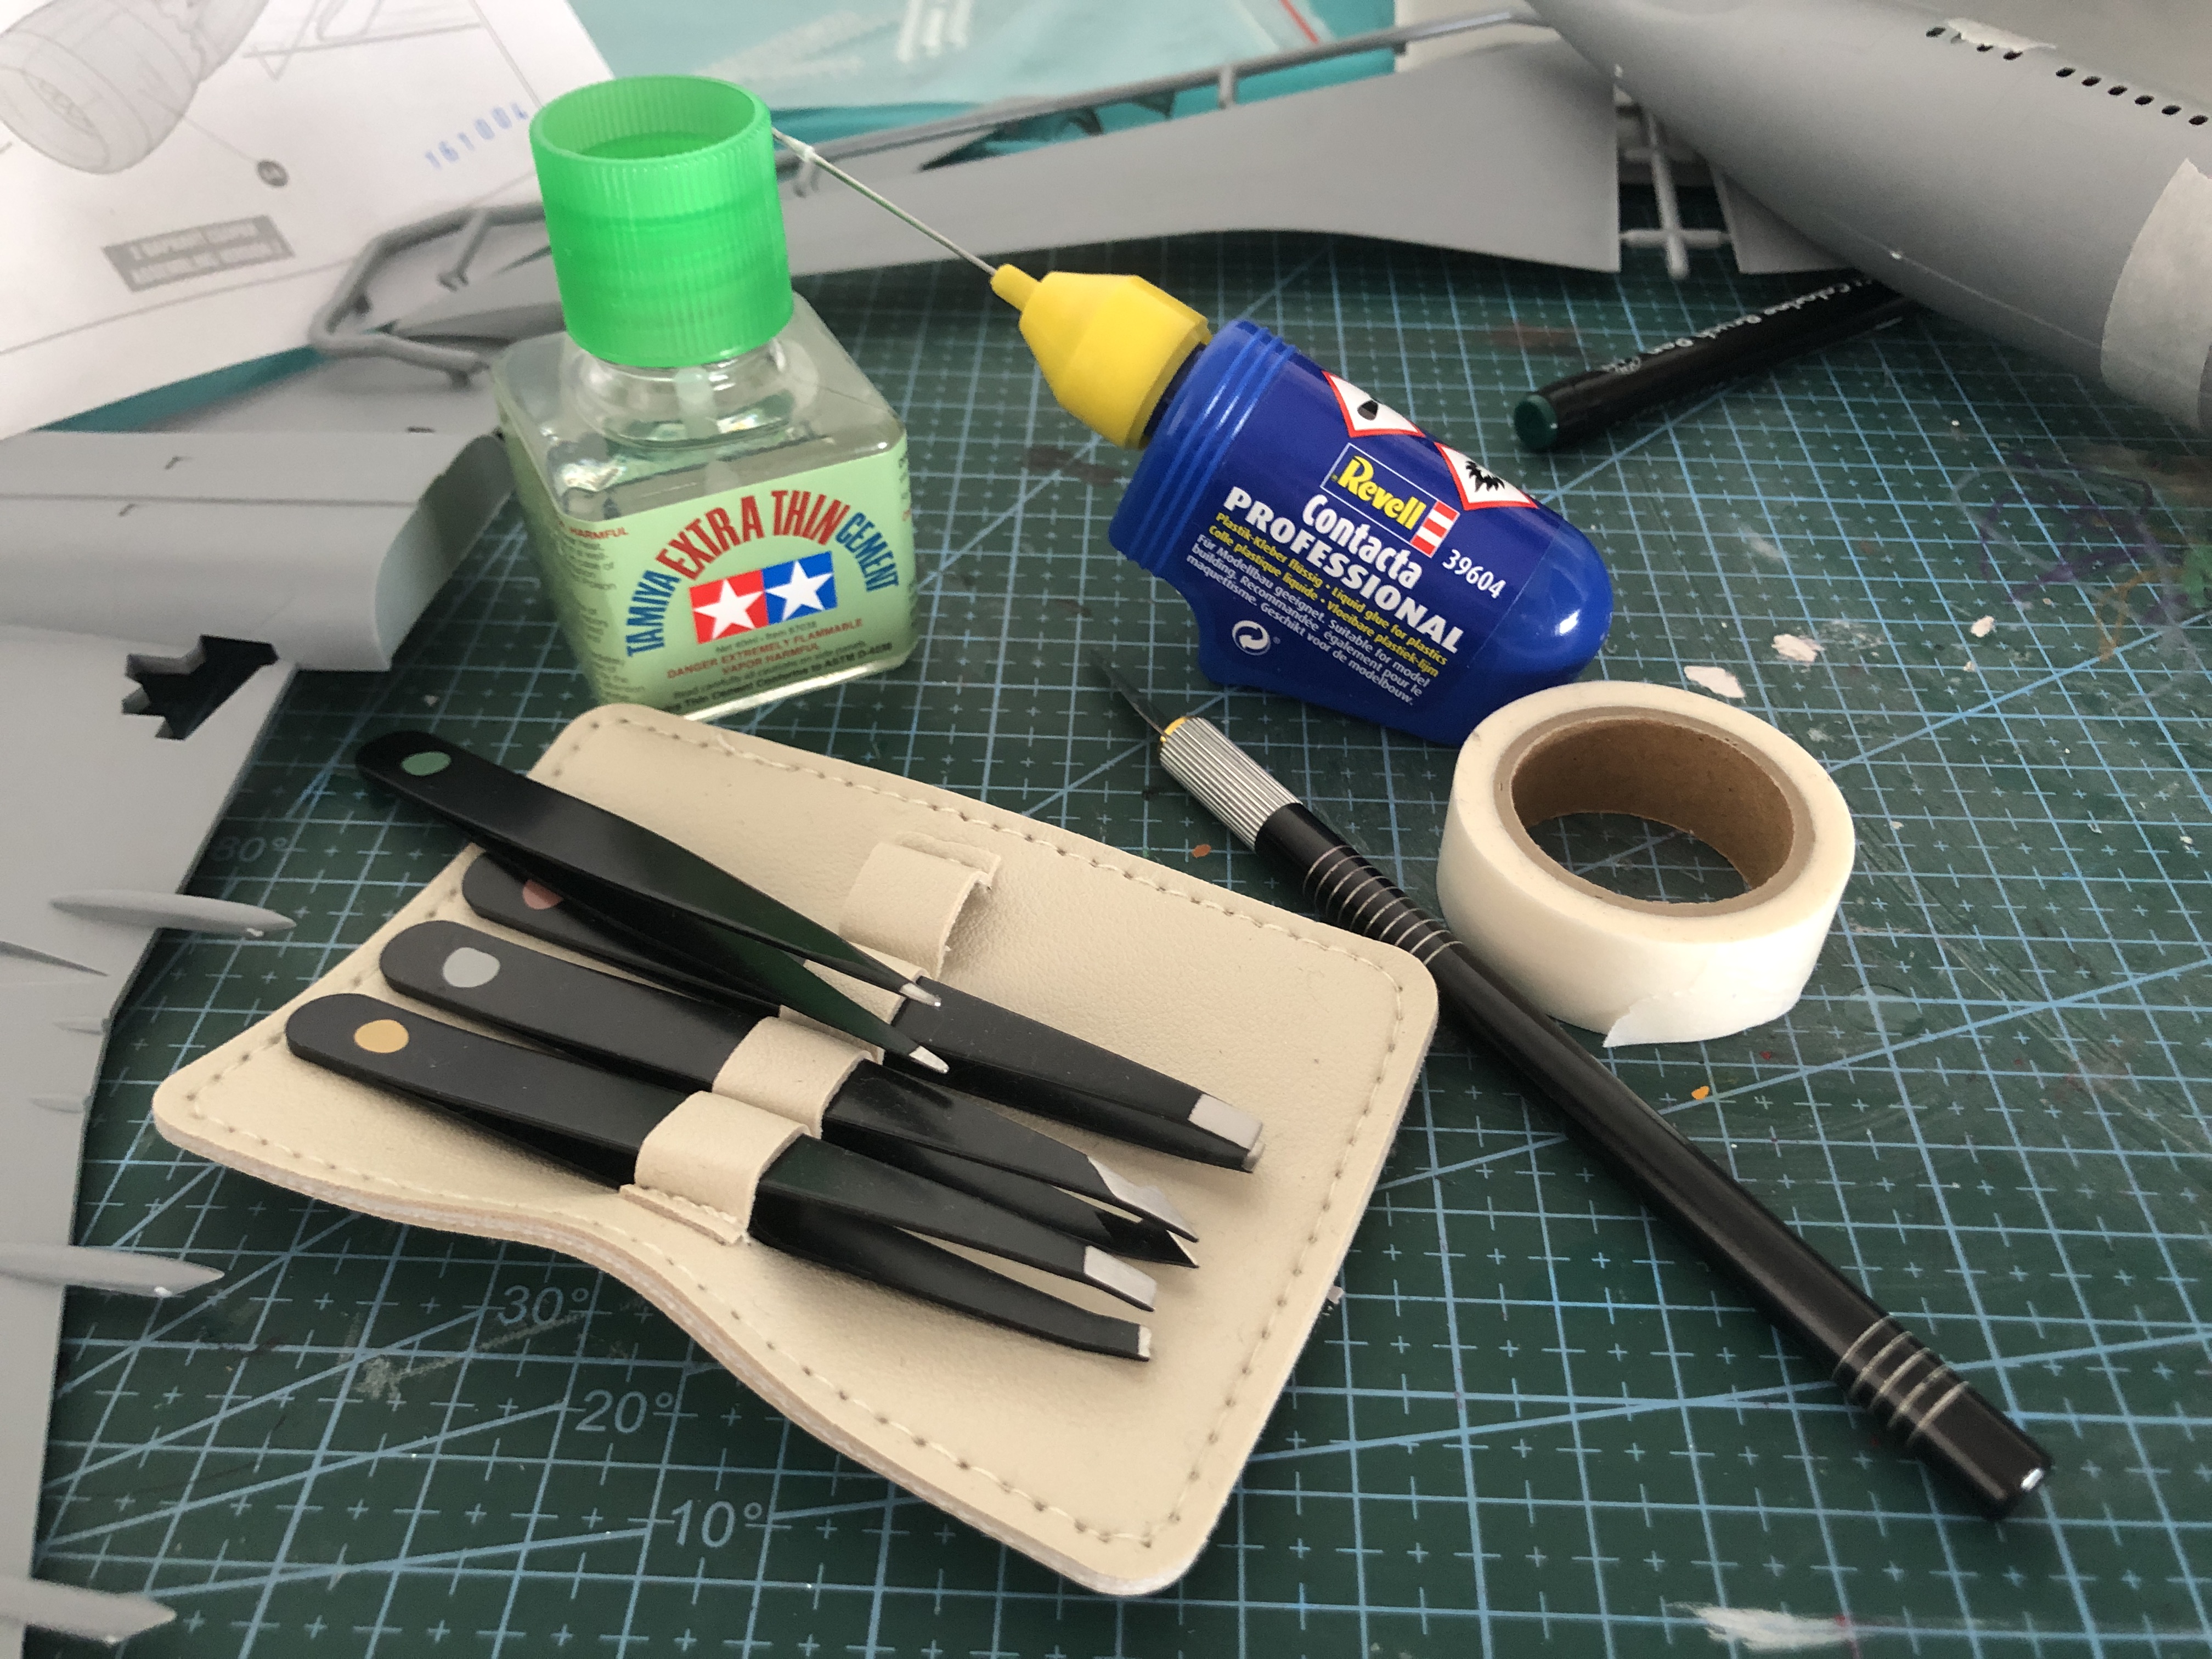
- Tamiya Extra Thin Cement Fine Tip Glue
- Revell "Contacta Professional" Glue w/Needle
- KEWAYO Craft Knife
- MOMENT 4pc Tweezers
- Muji Washi Tape
All purchased on Amazon
I do not have photos of the process either (see explanation above), but I have managed to:
Stick the fuselage together;
And stick the wings together.

This, and then I have also cut my finger while trying to get a large piece of plastic to snap off. This morning I have burnt my pancakes as well... So many things are telling me to sit down and stop it's ridiculous.
Current plan: Wait for the fuselage and wings to dry shut, then assemble them together. Putty & sanding afterwards.
Current feelings: Sneezing much more than I should. I like the plane's snout. My finger barely hurt at all when I got cut but as soon as I've noticed it it's gone to whining. Says a lot...
<*><*><*><*><*><*><*><*><*><*><*><*><*><*><*><*><*><*><*><*>
Flight Back